Drafting legal documents is a key component of Clio Draft. With the Clio Manage and Clio Draft integration, you can easily draft legal documents by populating your Clio Manage client and matter data. Once the documents are drafted and pre-filled, you can send documents out for electronic signatures.
Draft new documents
You can begin drafting legal documents in either Clio Draft or Clio Manage, and the drafting process proceeds through three distinct stages: document selection, information population, and final review.
Understanding your document types
Clio Draft supports several document formats that you can use:
- PDF Forms: These are pre-filled form templates you have saved. They are useful for partially filling out forms you regularly use (e.g., with a firm's name and address).
- Word templates: Templates built using the Microsoft Word Template Builder.
- Sets: Groups of forms and/or templates you compile for repeated use across similar matters.
Overview of the drafting workflow
When drafting, you only need to provide case information once. This information is then used to populate fields across all selected documents.
- Stage 1: Selection: You choose the set of forms or templates to use.
- Stage 2: Population: You provide case and contact information on the Populate page. The information you provide here is used to fill in the required fields.
- Stage 3: Review: You review the generated documents, make final edits, and prepare for saving or eSignature.
Stage 1: Select your documents
You can begin drafting documents in either Clio Draft or Clio Manage. Sets are groups of forms, templates, or Word templates that you have compiled for reuse in a specific matter type or stage.
- In Clio Draft, go to Library and select one of the Sets, PDF Forms, Form templates, or Word templates subtabs.
- Find the set of forms, individual forms, or templates that you need. You can use the search bar for each tab to search by form number, form, or template name.
- Click Add to add a set, form, or template to your list of documents.
- The documents will appear in the selection pane on the right. You can add up to 20 documents.
- Optional: In the selection pane, you can reorganise the order of documents by clicking and dragging them. You can also click the delete (trash can) icon for a document to remove it from the list of selected documents.
- In the same selection pane, click Draft new documents to proceed to the next stage.
- In Clio Manage, go to a matter’s Documents subtab.
- Click New and then select Create document in Clio Draft.
- In the modal, click Continue to Clio Draft.
- This will also sync this matter from Clio Manage to Clio Draft. If the matter was previously synced, this action will update any changes made to fields and contacts.
Stage 2: Create document set and provide information
The Populate page is where you provide case-specific information. This information is used to populate the various parts of your documents.
Tip: When adding a document title, choose a naming convention that makes it easy to find your documents. One option is to use the client’s name, the relevant practice area, and information about the documents, e.g., Smith—Divorce—Preliminary Pleadings.
Note: You can use contact custom fields to ensure that information added to the custom field is readily available when you draft documents in Clio Draft. You can also leverage related contacts added to a matter to enable Clio Draft to select the correct contact for the relevant role card automatically.
- Enter a document set title and choose a matter.
- If you select a matter that was created in Clio Manage, click Update now to ensure that the most up-to-date information is used when you proceed, and then click Next.
- You can also create a new matter in Clio Draft. Click the Choose a matter field > Create a new matter. Matters created in Clio Draft will not be synced to Clio Manage.
- On the Populate page, start adding case-specific information in the fillable fields. You do not need to complete every field.
- Left-hand panel: This panel shows the documents you chose and the Cards (sets of related information) used in the form. You can use this panel to navigate to a specific card or document.
- Card status: In the title of each card, a status tag indicates how many fields are still blank or if the card’s information is complete. The left-hand panel updates with a checkmark or the number of unfilled fields as you add or remove information.
- For each card, complete the required fields.
-
Role cards (Contacts): Cards that pertain to a contact or other entity (like a court or organisation) allow you to choose the contact or company.
- Click the Attach contact field.
- Select an existing contact or click New Contact to create a new contact in Clio Draft. Contacts added in Clio Draft will not be synced to Clio Manage.
-
Role cards (Contacts): Cards that pertain to a contact or other entity (like a court or organisation) allow you to choose the contact or company.
- Once you are finished, click Generate document(s).
Review and manage documents
This section guides you through the final review stage and subsequent management actions, such as editing, renaming, and adding documents.
Stage 3: Review and finalise documents
The information you provided in the various fields of the cards will populate into the relevant locations in your documents. You can now review the forms and make any necessary additions or edits as needed. For Word templates, you can preview the document and toggle highlighting off to remove field highlights.
- Review each of the PDF forms.
- Select the court form you want to review. The information entered in the previous stage will appear in the appropriate fields in a blue font. This is a visual aid. When you download or save the documents, the text will be black.
- Purple fields: Fields highlighted in purple are connected to linked fields that will automatically insert information entered on the Populate page. If you fill in a purple field, the data in that field will always populate when you draft a document from this form template and will not be overwritten by text entered on the Populate page.
- Blue fields: Fields highlighted in blue are unique to the matter. You will enter this information after you generate the form template.
- Unlink a field: If you manually edit a field that was automatically added, the field will unlink from the Populate page and turn grey. To relink it, hover over the unlinked field, then click the Reset to initial value icon.
- Add text boxes: If you need additional text boxes or more space, click Add custom field from the edit banner, select the document where you want to add the text, and then start entering your text. You can also click the box to move it, change the text size, or delete the box.
- Select the court form you want to review. The information entered in the previous stage will appear in the appropriate fields in a blue font. This is a visual aid. When you download or save the documents, the text will be black.
- Review Word templates.
-
Fields: Word templates will highlight the fields in the document. Review this information. You cannot edit this document directly from this page; return to Stage 2 to correct information.
Important: If you return to the Populate page (Stage 2) and edit a linked field, the new information will update the linked fields only (those with a blue field background). If you unlink a field in Step 1 (those with a grey field background), it will not update.
-
Finalize documents
When your document set is finished, you have the following options:
-
Click Save to Clio Manage to save all the documents back to the matter in Clio Manage.
Note: This option is only available if you selected a matter from Clio Manage in Stage 2. - Click Download to download a PDF or .docx file of each individual document, or a zip file containing all the documents.
Map related contacts for matters in Clio Draft
When you add Related contacts to a matter in Clio Manage and correctly specify the relationship, Clio Draft automatically preselects the related contact to the relevant role card during the drafting process.
- While drafting a document, take note of the exact title of a card on the Populate page.
- Add this exact title to the Relationship field when you create or edit a Related contact on the matter in Clio Manage.
Map Clio Manage contact custom fields in Clio Draft
If you regularly use a form with a field that is not included in the standard set of fields available in Clio Manage (like a State Bar Number), you can create a custom field in Clio Manage to automatically populate that information in Clio Draft.
Tip: By mapping a custom field for State Bar Number, you avoid manually typing this information every time you generate a document.
- While in Clio Draft, take note of the exact name of the field on the role card that you want to map. This process is case-sensitive.
- In Clio Manage, create a new contact custom field.
- When specifying the custom field name, use the exact name you noted in step one.
Custom field sync limitations
Clio Manage supports 12 custom field types, but only five of these field types sync to Clio Draft.
- Supported field types for syncing: Checkbox, Date, Picklist, Text (Multi-Line), and Text (One-Line).
- Unsupported field types: Contact Select, Matter Select, Integer, and Time.
Manage drafted documents
You can edit, rename, and add new documents to drafted documents through the Document sets, Documents, or Matters tabs.
Edit drafted documents
- Access the documents via Document sets or Documents in Clio Draft, or Matters in Clio Manage.
-
Via Clio Draft:
- Go to Document sets or Documents.
- Search for the drafted documents.
- Click the Actions dropdown and then select Regenerate.
-
Via Clio Manage:
- Go to the matter in Clio Manage.
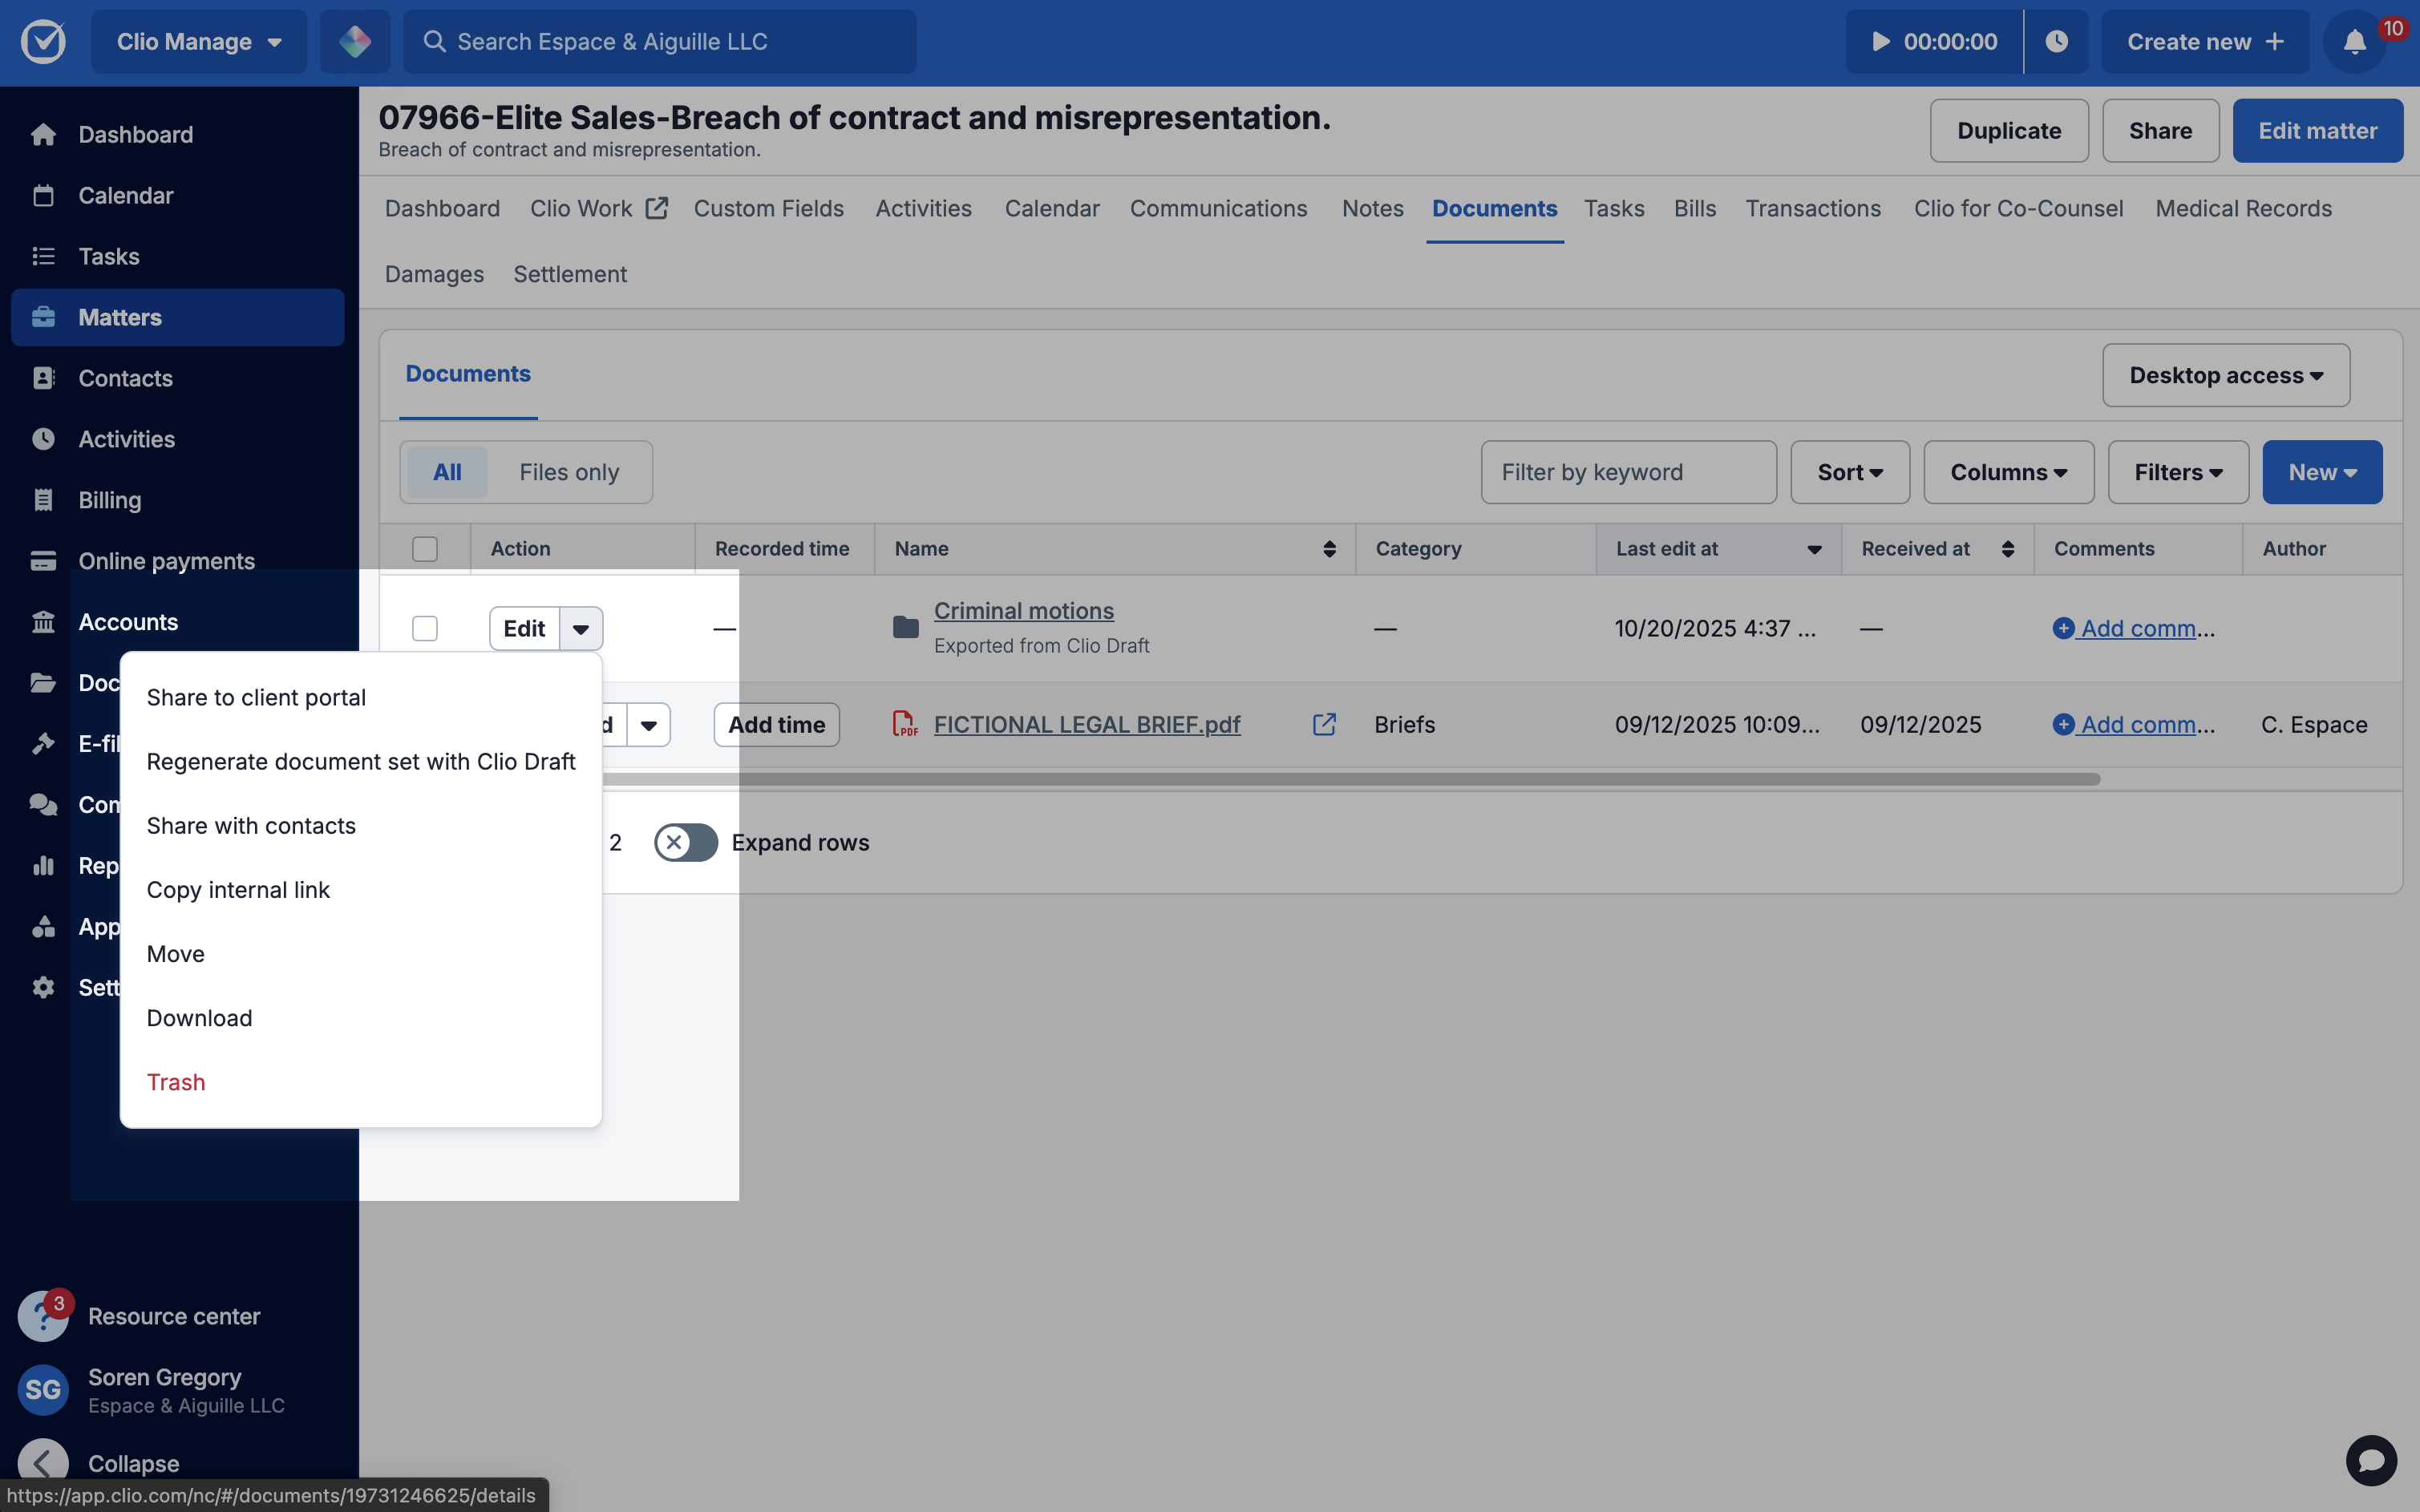
- Click the Documents subtab. Find the folder Exported from Clio Draft.
- Under Actions, click the arrow and select Regenerate document set with Clio Draft.
-
Via Clio Draft:
- Continue through the document drafting process to make your changes.
Add or delete documents
You can add additional documents to your set or remove documents you no longer need.
- In Clio Draft, access the document set via the Actions dropdown and select Regenerate.
- Continue through the document drafting process until you reach the drafting/preview screen (after the Populate page).
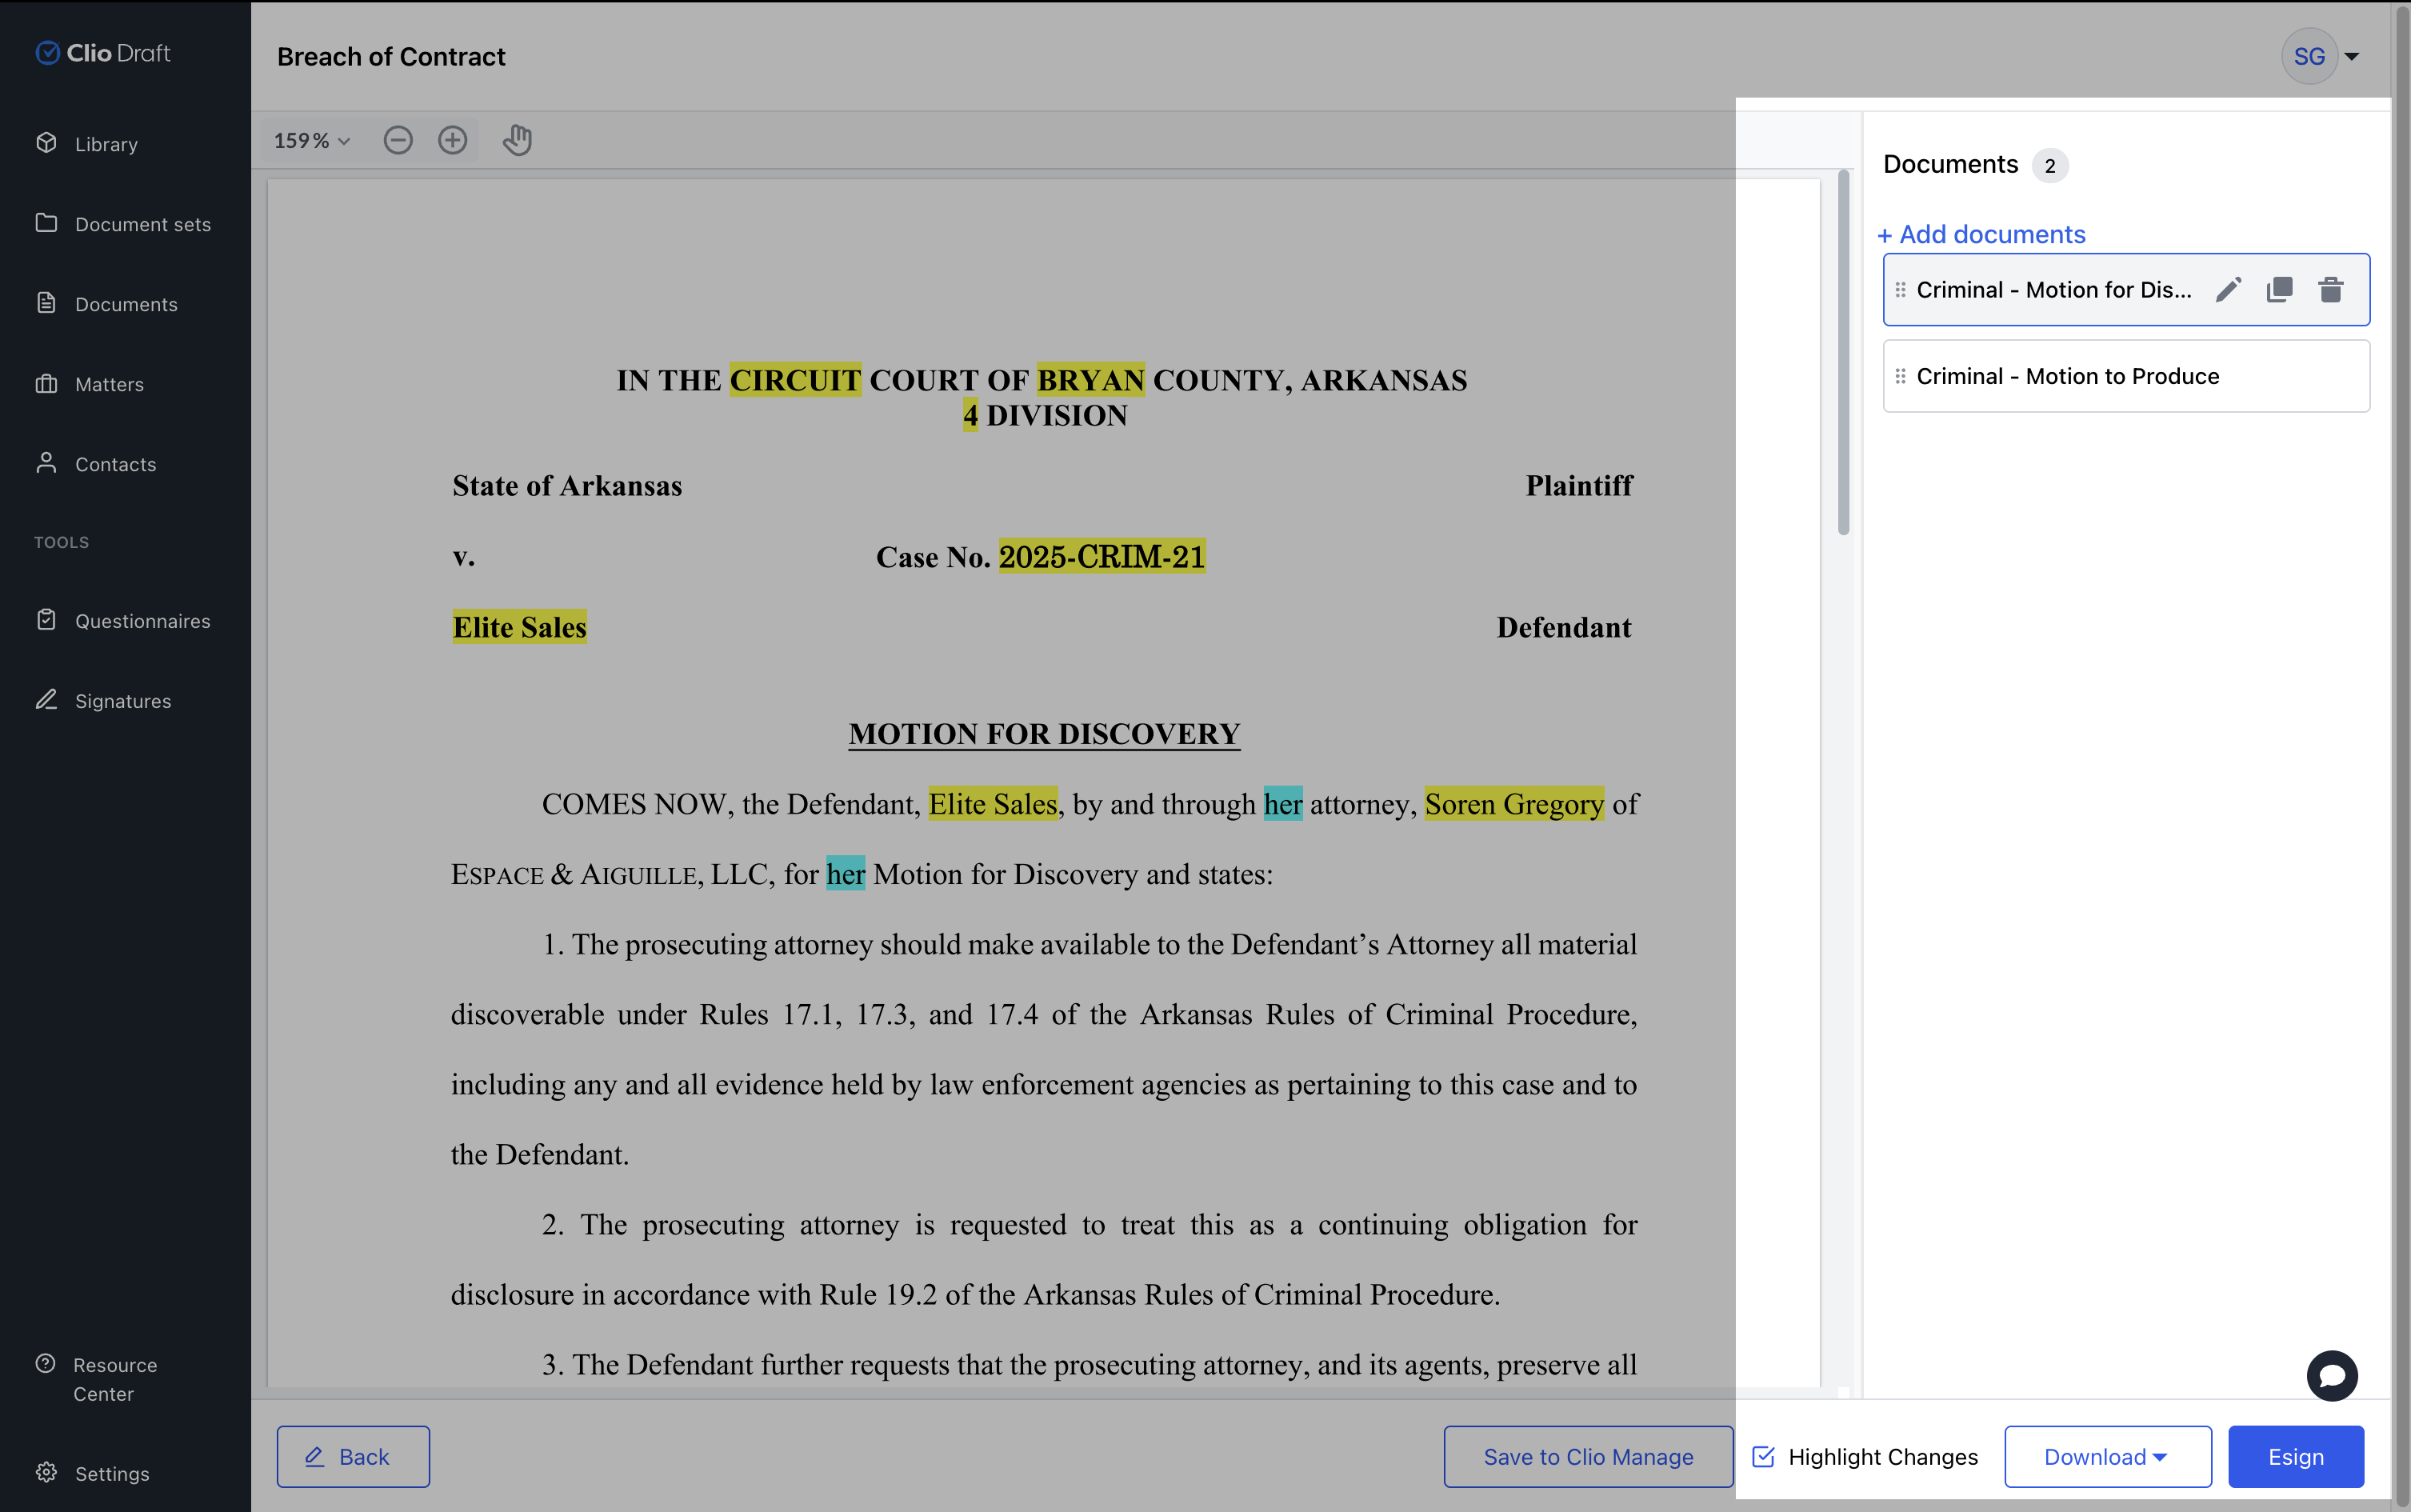
- To add documents, click + Add documents in the Documents pane shown below. Select additional sets, forms, or templates from your library, and then click Confirm selection.
-
Optional: To duplicate a document, hover over the document name in the Documents pane and click the Duplicate icon. Enter the number of copies you want to create and then click Duplicate.
Note: Once a copy is created, it becomes an original document. Changes made to the original document that it was duplicated from will not appear in the copy or vice versa. - To delete a document, hover over the document name in the Documents pane and click the trash icon. Click Delete to confirm.
Rename documents
- To rename documents you have drafted in Clio Draft, access the document set via the Regenerate action described above.
- Continue through the document drafting process until you reach the drafting/preview screen.
- In the Document pane, hover over the document name and click the pencil icon next to a document’s name.
- Enter a new name and then click Rename.