With court rules, you can track court deadlines for your matters by selecting court trigger events for specific court jurisdictions. Once you select a trigger, court rules will automatically find related court events for the specified jurisdiction and add dates to your calendar.
Court rules provide automated rules-based calendaring from a library of court rules across 50 U.S. states and 2,200 jurisdictions. In Canada, court rules are available across two provincial courts and the federal court, with more provincial and territorial jurisdictions to be added in the future. In the UK and Australia, court rules currently support a limited set of conveyancing (property transaction) rule sets.
Add jurisdictions and configure settings
To get started with court rules, you need to select the relevant jurisdictions and configure your default settings in Clio Manage. Only administrators have permission to do this. After adding jurisdictions, you can configure your default settings for creating court rules calendar entries, including default jurisdiction, default service type, default calendar, and default attendees. Once created, court rules will appear on the calendar that you specified, and they will include your selected attendees.
- Go to Settings > Court Rules > Jurisdictions.
- Click Add new jurisdictions (if this is the first time adding jurisdictions) or Add jurisdictions (if you already have selected jurisdictions and want to add more).
- In the search field, start typing the name of the jurisdiction or court you want to add.
- From the list of options that appear, use the checkboxes to select all jurisdictions you want to add.
-
Optional: Click the eye (view) icon next to the jurisdiction’s name to view the ruleset.
Note: You can use the search field to search for additional jurisdictions. Any jurisdictions already selected will remain selected in the background until you’re ready to confirm your selections.
- When you’ve selected all jurisdictions you need, click Add jurisdictions.
Note: If you selected more jurisdictions than allowed by your plan, you will be informed and will have to acknowledge the additional cost by clicking Confirm and add.
- Go to Settings > Court Rules > Jurisdictions.
- Click Add jurisdictions.
- Click the X next to a jurisdiction’s name to remove it.
- Read the message that explains the effects of removing a jurisdiction and click Confirm and remove to delete the jurisdiction.
Note: The default jurisdiction will automatically appear when you add a new rule to a matter and is selected from your list of jurisdictions. You can always change the default jurisdiction when adding a new rule to a matter. The default service type will only appear for triggers that require service delivery.
- Go to Settings > Court Rules > Default Settings.
- Select from the dropdown selections for Default Jurisdiction, Default Service Type, and Default Calendar.
- Search for firm users under Default Attendees.
- Click Update Court Rules Settings.
Add court rules to matters
In Clio Manage, you can add court rules to matters from either the main Calendar tab or a matter’s Calendar subtab. Once created, you can view the court rule and its associated calendar events in either location.
When creating a court rule, you can only select the trigger’s date and time. You cannot edit dates and times for any associated calendar events unless you edit that specific associated calendar event. Learn more about editing associated calendar events below.
Tip:Some of your court rules associated events may contain the acronyms L/D or F/D. L/D means Last Day served, and F/D means First Day served.
- Go to Calendar.
- Select the down arrow next to New event and select New court rule.
- In the Set Up section, complete the required fields. You can also enter details for the optional fields:
- Required: the court rule's Name, the Matter, a previously added Jurisdiction, the court Trigger, and the trigger's Date.
- Optional: the trigger's Time. The trigger’s start time will be shown in a one-hour block in your calendar, if applicable. You can create a longer or shorter time block after creating and saving the event.
- Optional: a custom Event prefix. The custom prefix will be applied to ALL calendar events for this court rule. Additionally, the prefix can be both alphabetical text and numbers, will appear in email notifications and any synced calendars, and can only be edited one event at a time once applied.
- Optional: Select the Service Type. You will only see this field for some triggers, such as process serving.
- Click Next: Select Events.
- In the Select Events section, deselect any parent events that you do not want to be created as calendar entries. All events associated with the trigger are selected by default.
- Click Next: Choose Calendar Options.
- Select the calendar that the events will appear on and add firm user attendees. You can set reminders for the attendees now or later when editing the event.
- Click Add to Calendar.
- Go to the matter and click Calendar.
- Select the down arrow next to New event and select New court rule.
- In the Set Up section, complete the required fields. You can also enter details for the optional fields:
- Required: the court rule's Name, a previously added Jurisdiction, the court Trigger, and the trigger's Date.
- Optional: the trigger's Time. The trigger’s start time will be shown in a one-hour block in your calendar, if applicable. You can create a longer or shorter time block after creating and saving the event.
- Optional: a custom Event prefix. The custom prefix will be applied to ALL calendar events for this court rule. Additionally, the prefix can be both alphabetical text and numbers, will appear in email notifications and any synced calendars, and can only be edited one event at a time once applied.
- Optional: Select the Service Type. You will only see this field for some triggers, such as process serving.
- Click Next: Select Events.
- In the Select Events section, deselect any parent events that you do not want to be created as calendar entries. All events associated with the trigger are selected by default.
- Click Next: Choose Calendar Options.
- Select the calendar that the events will appear on and add firm user attendees. You can set reminders for the attendees now or later when editing the event.
- Click Add to Calendar.
Edit court rules and events
If you created a court rule or if you have permission to edit a court rule on another user’s calendar, you can update the court rule’s trigger date and time, add reminders, add time, and bulk update any associated calendar events. You can make changes from the main Calendar tab or a matter’s Calendar subtab.
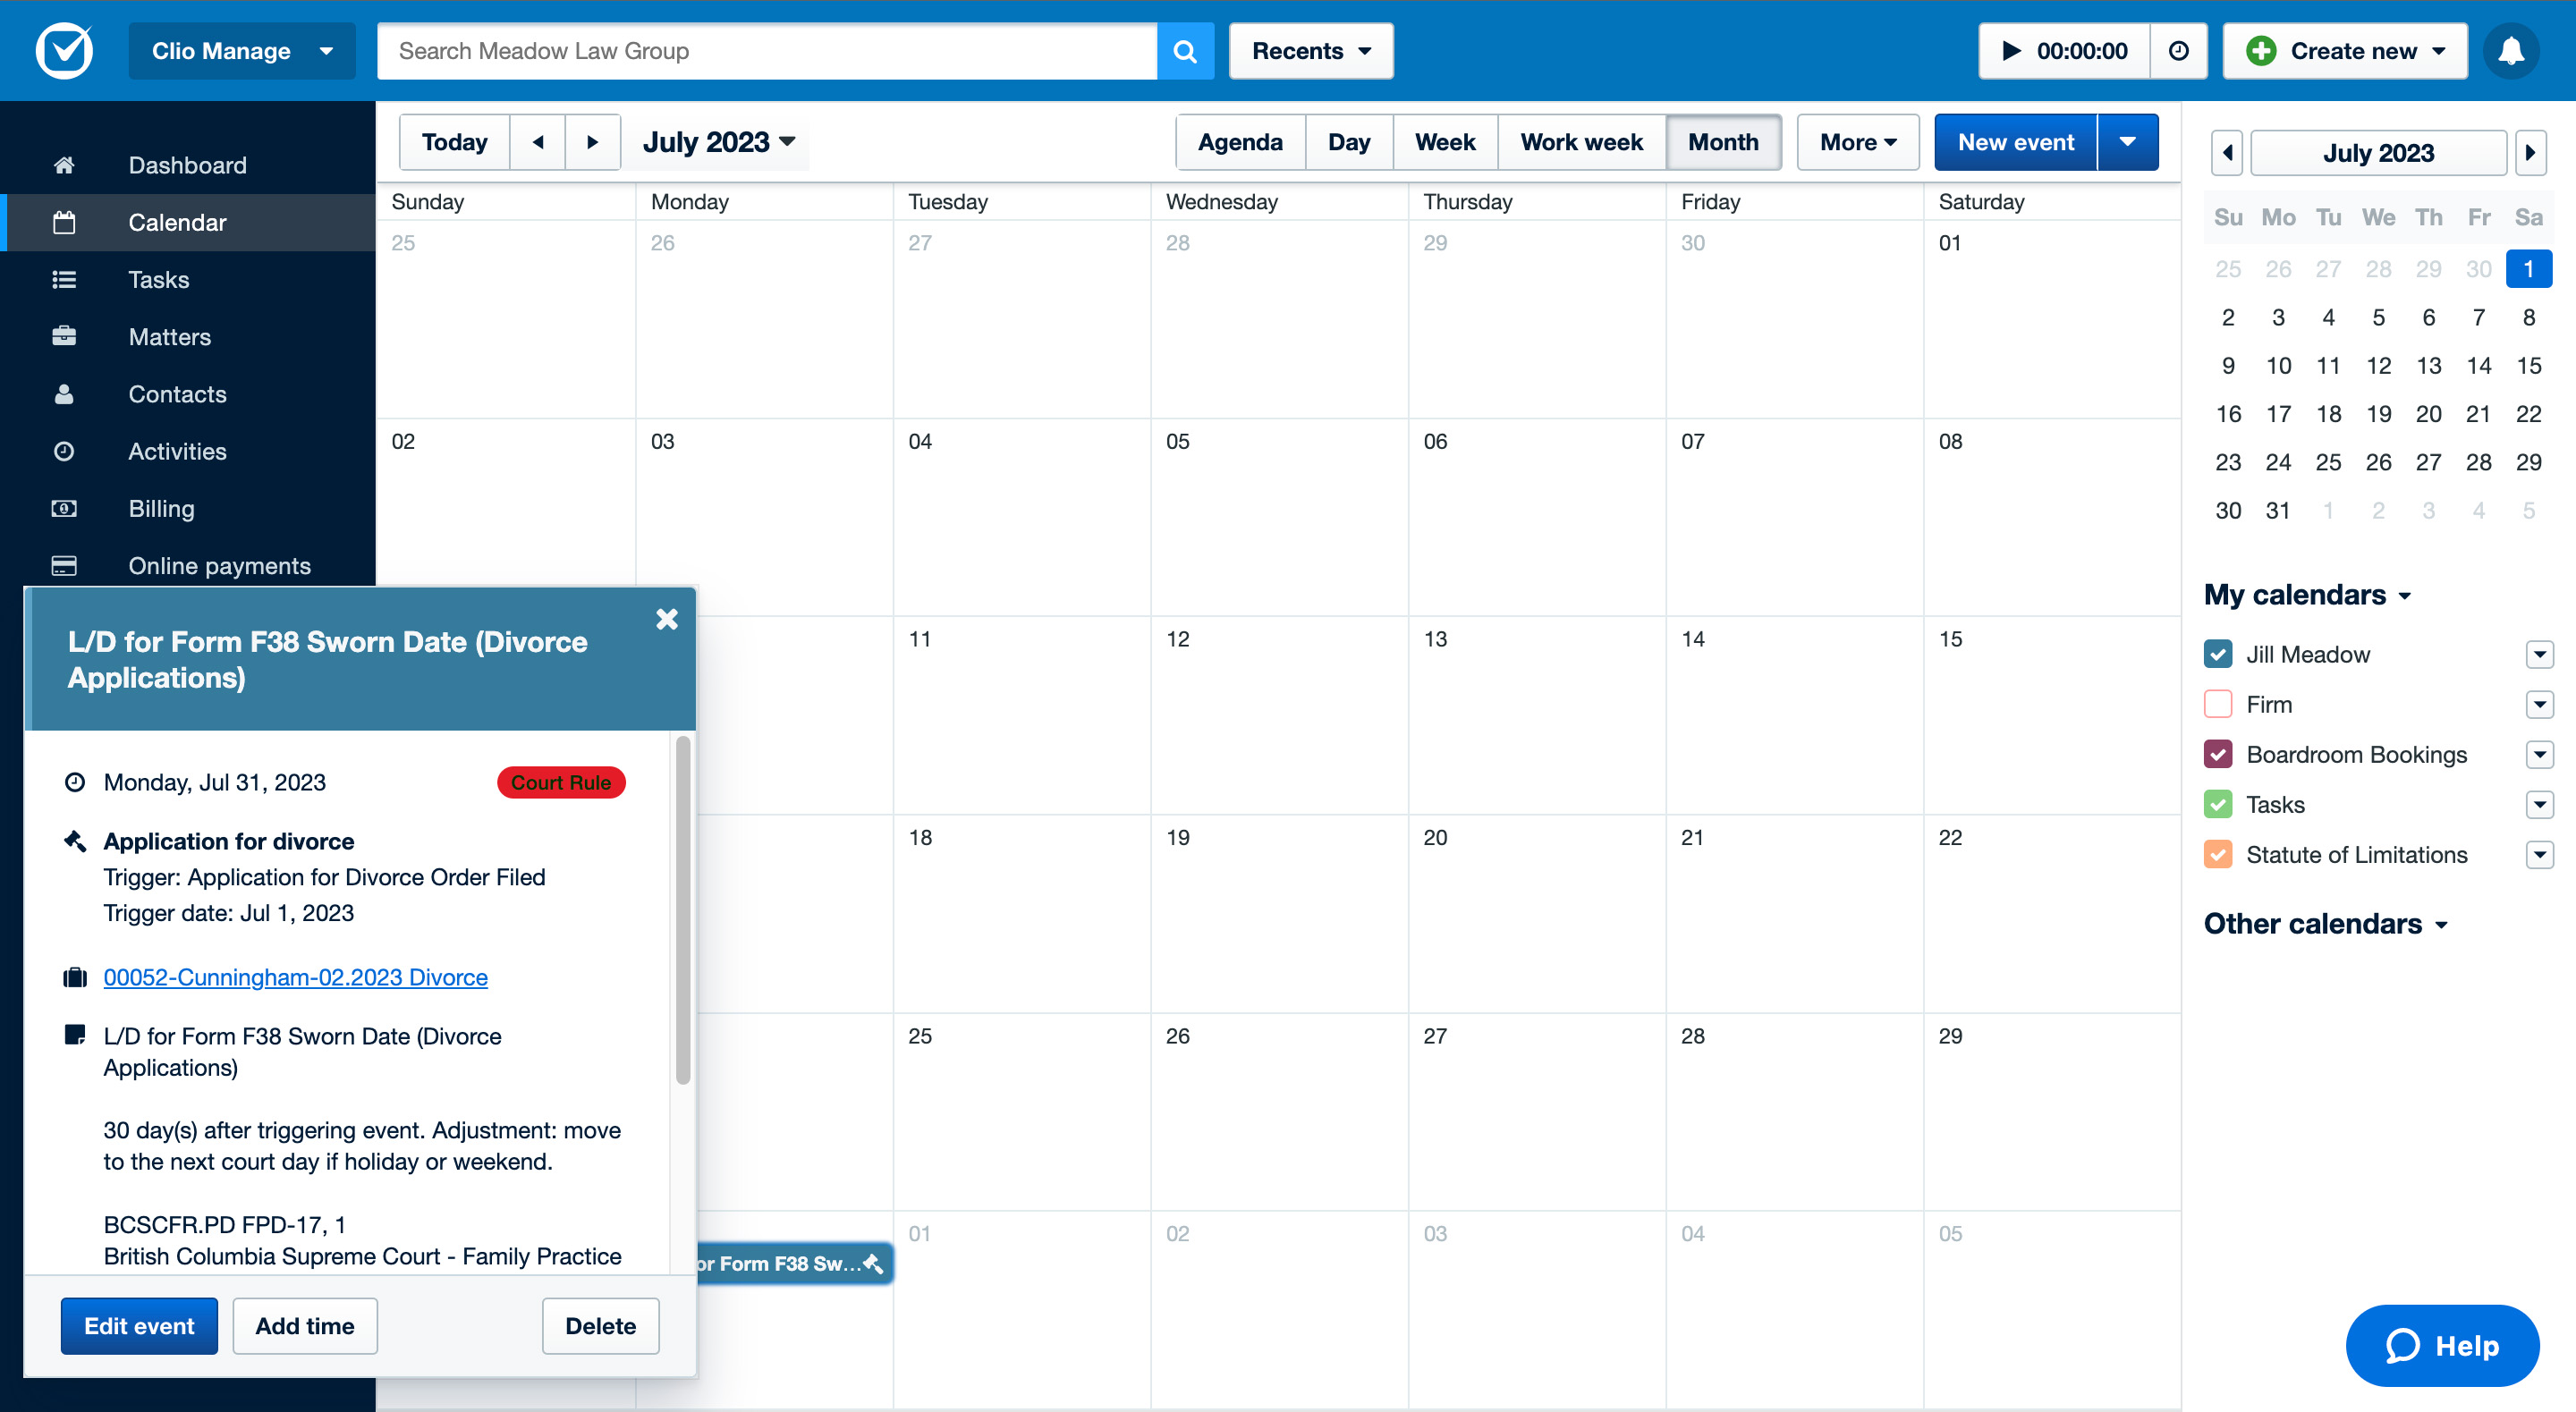
- Go to Calendar.
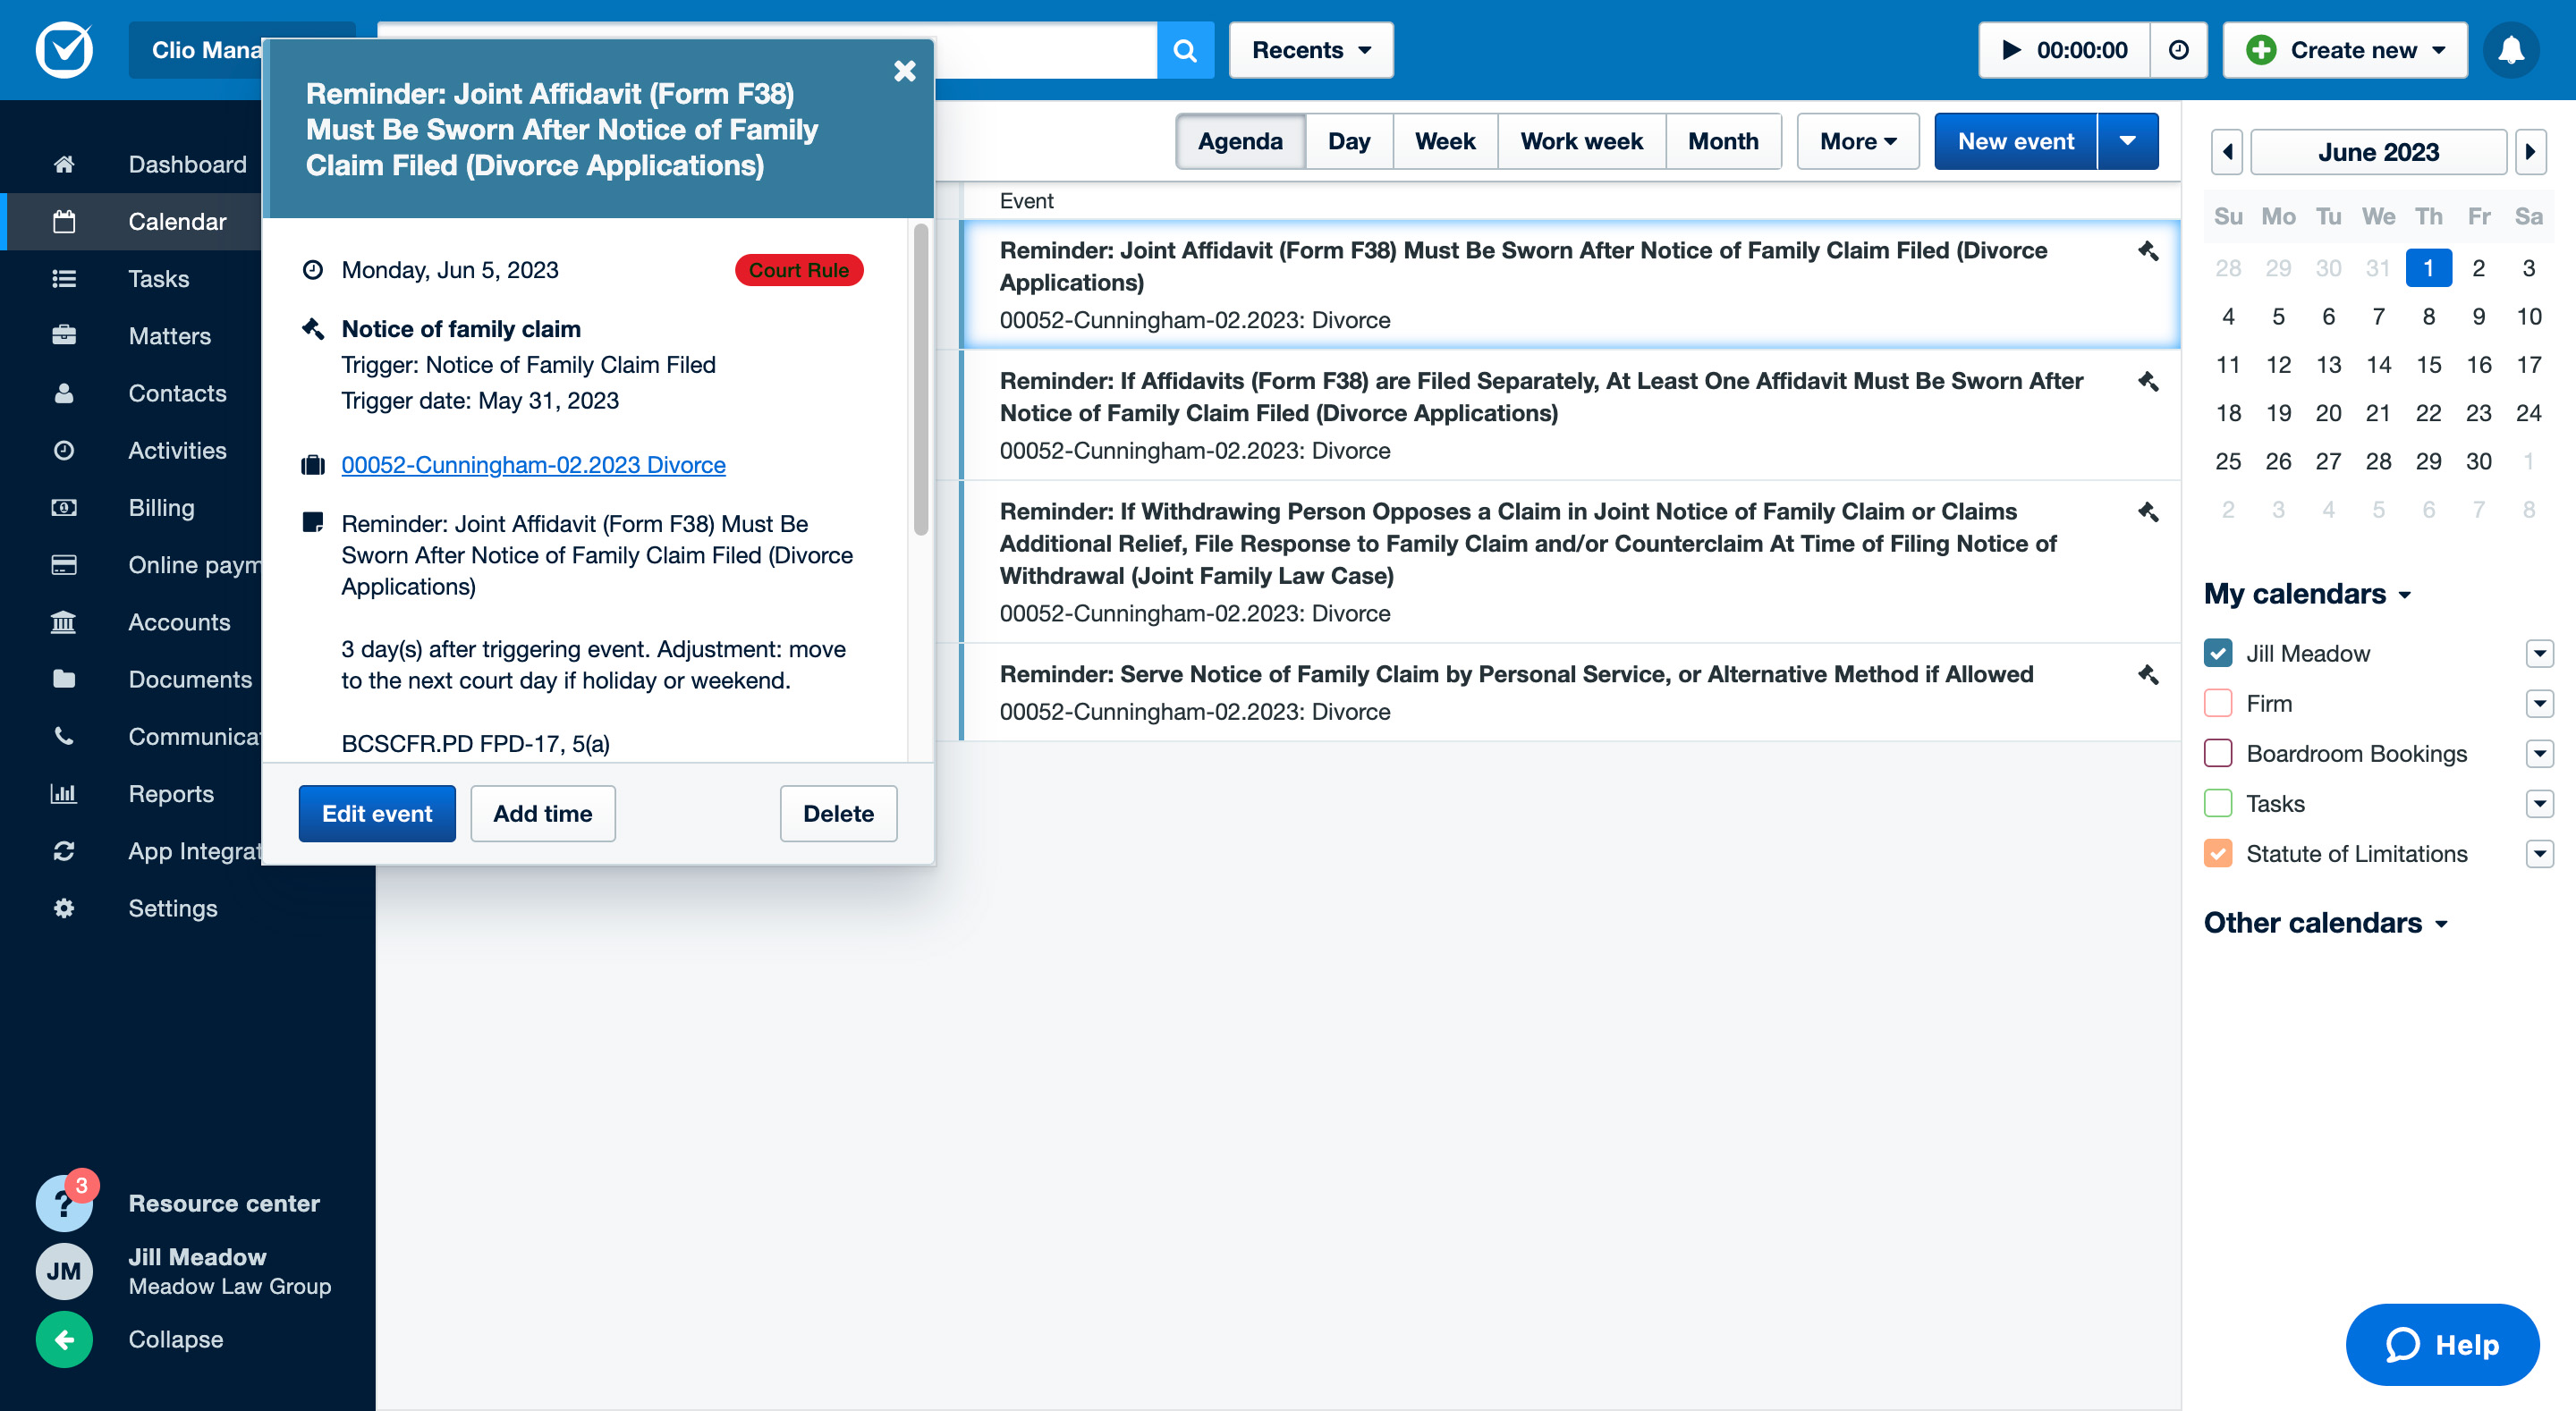
- Find the court rule event.
- Optional: Click Add time to create a time entry for the event.
- Click Edit event to edit the court rule event.
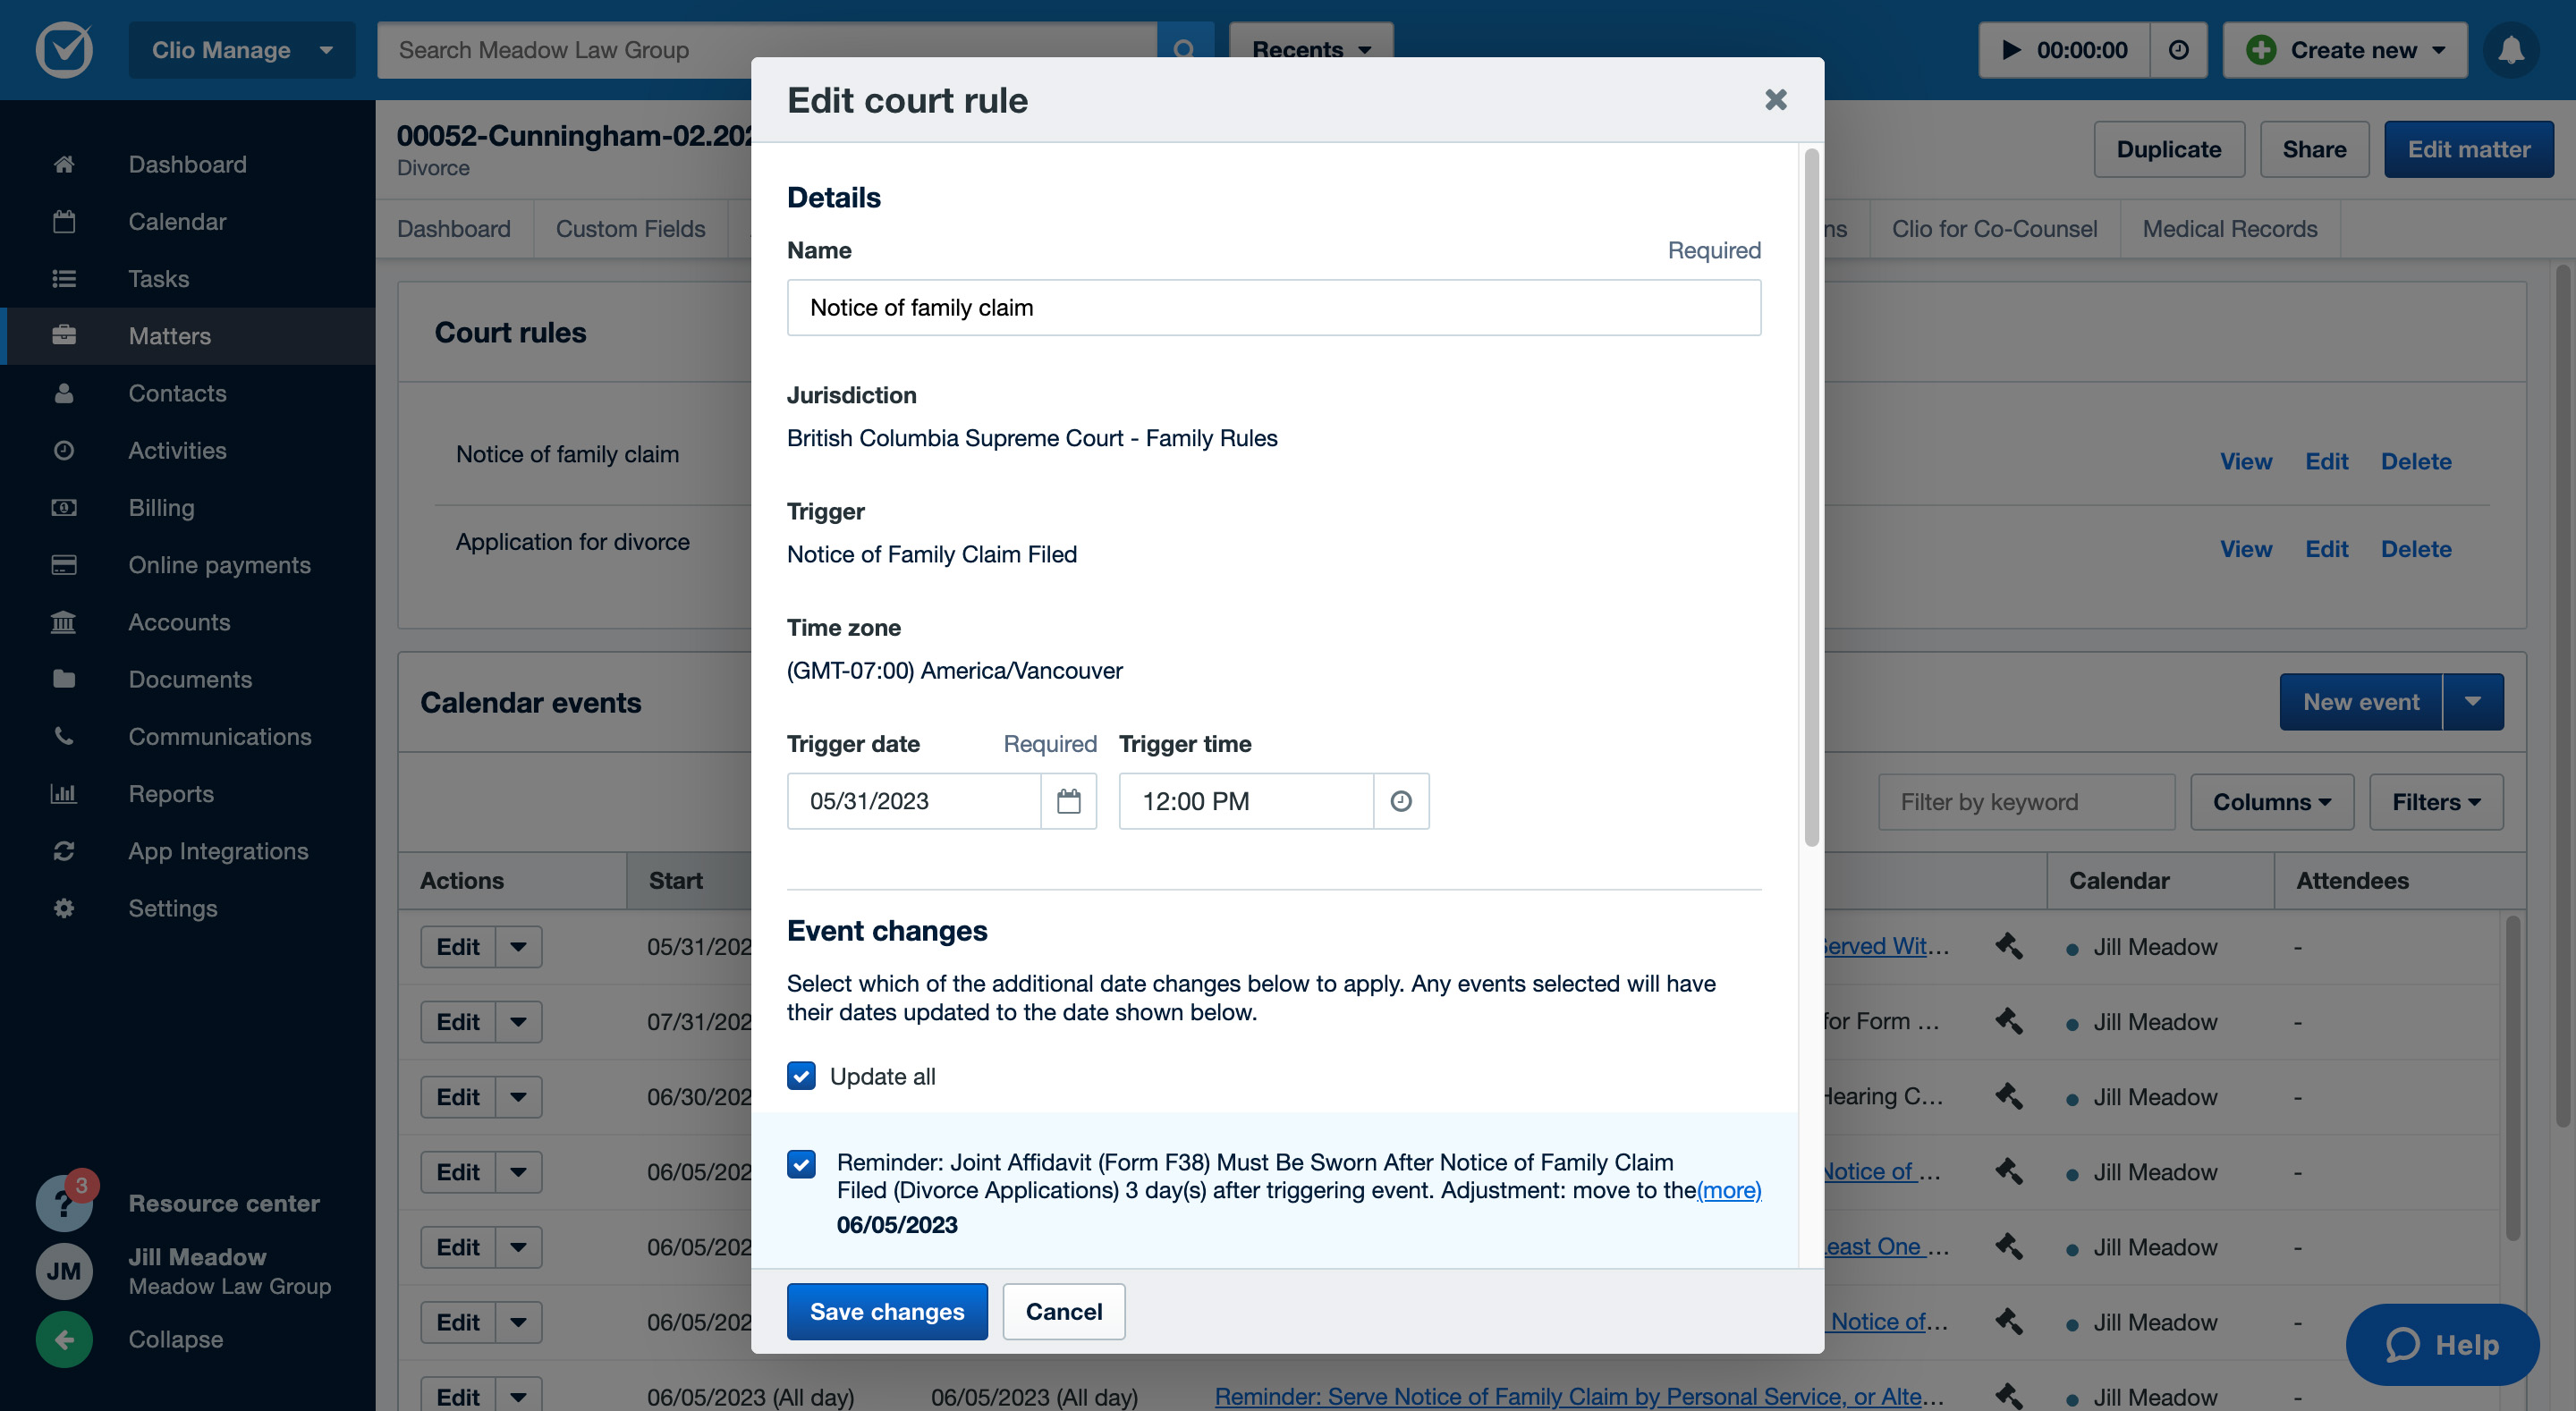
- Make changes to the court rule’s name and/or trigger date and time.
- Click Save changes.
- Scroll down to Event changes to select or deselect associated events that you want to update. You may see the following tags next to some events:
- Court permission required: These events require permission from the court to alter a due date and are selected by default.
- Custom date: These events were previously manually edited to change the date to a custom date and are deselected by default.
- Repeating event: These events were created as a repeating event in the calendar and are selected by default to automatically update upon any changes to the trigger date.
- Click Save changes.

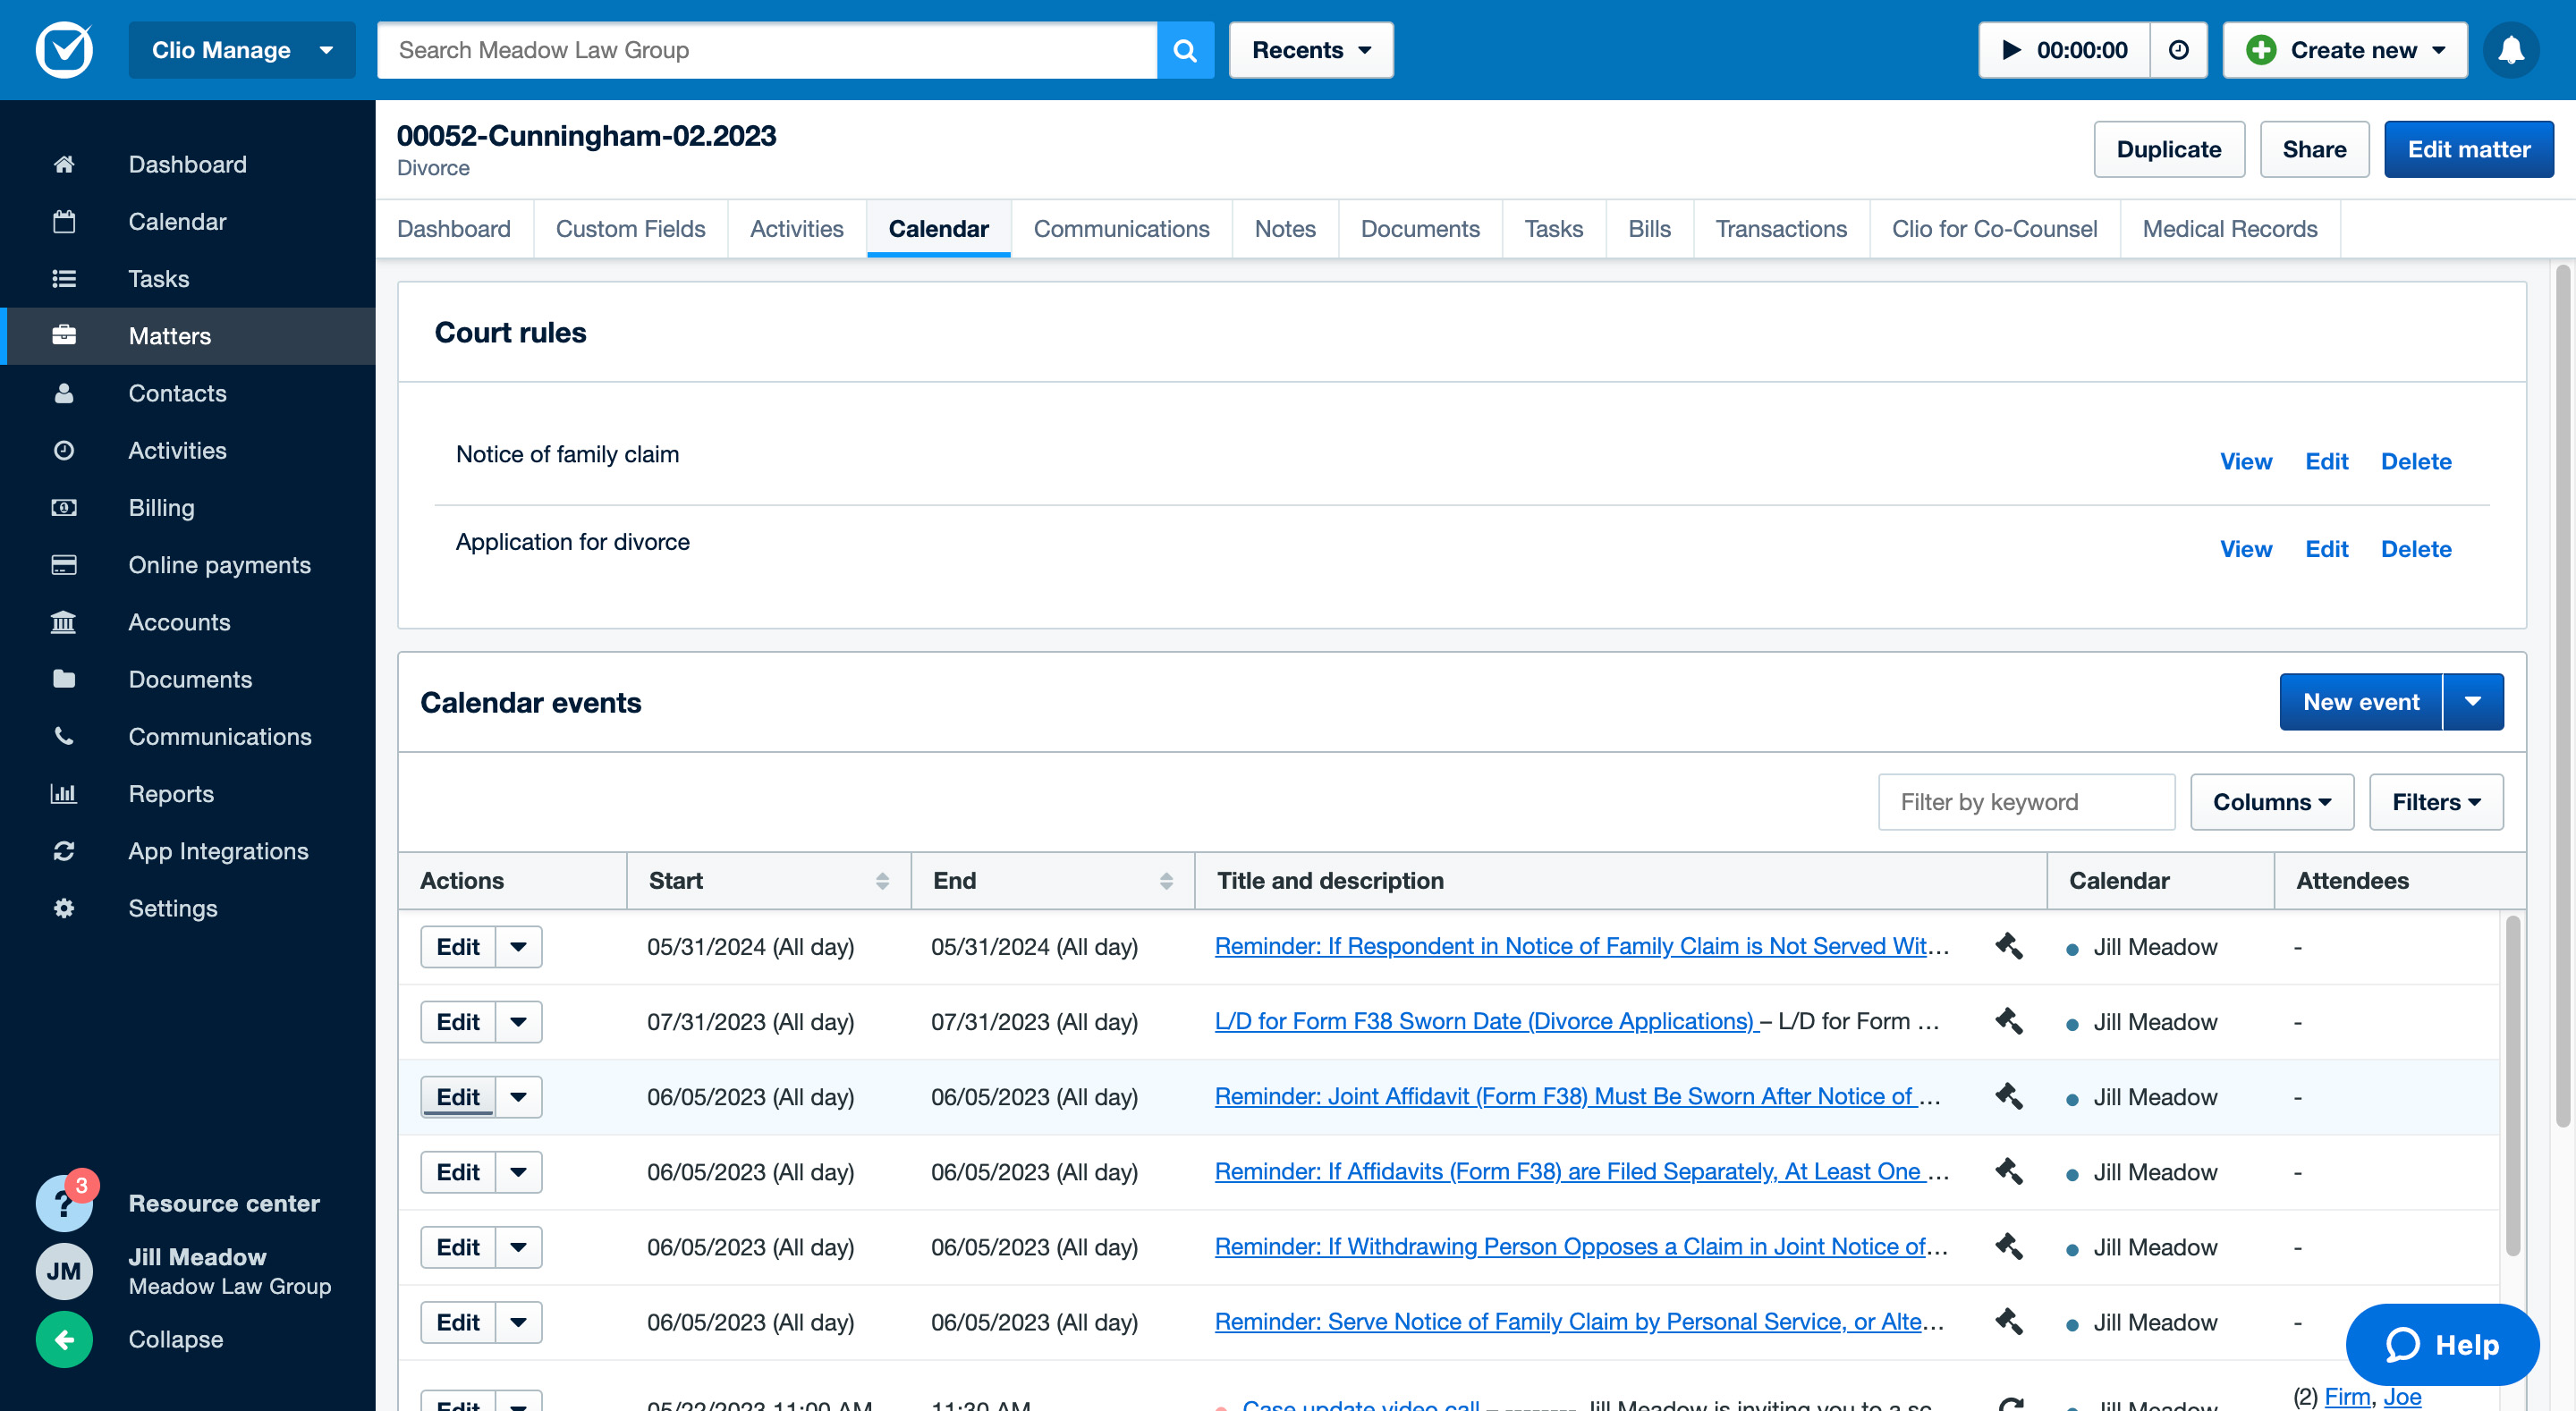
- Go to the matter’s Calendar subtab.
- Under Court rules, find the event and click Edit.
- Make changes to the court rule’s name and/or trigger date and time.
- Click Save changes.
- Scroll down to Event changes to select or deselect associated events that you want to update. You may see the following tags next to some events:
- Court permission required: These events require permission from the court to alter a due date and are selected by default.
- Custom date: These events were previously manually edited to change the date to a custom date and are deselected by default.
- Repeating event: These events were created as a repeating event in the calendar and are selected by default to automatically update upon any changes to the trigger date.
- Click Save changes.

Edit only associated parent and child events
After creating a court rule, you can edit the date and time for any associated parent or child court events as long as the court rule was created on your calendar or as long as you have permission to edit another user’s calendar. Parent events are the associated court events listed when creating a new court rule. Child events are court events on the same day as the parent event. You can edit these events by dragging and dropping them to a new calendar date or by editing them directly in the Calendar or from the matter’s Calendar subtab.
- Go to Calendar.
- Find the associated event.
- Optional: Click Add time to add a time entry to the event.
- Click Edit event to edit the event.
- In the new window, make your changes.
- Click Save event.
- If your selected parent court event has child events, you can select which child events you also want to automatically update.
- lick Move related events to save your changes. Click Don’t move to save your changes to the parent event without moving any of the child events.

- Go to the matter’s Calendar subtab.
- Under Calendar events, find the event and click Edit.
- In the new window, make your changes.
- Click Save event.
- If your selected parent court event has child events, you can select which child events you also want to automatically update.
- Click Move related events to save your changes. Click Don’t move to save your changes to the parent event without moving any of the child events.

- Go to Calendar.
- Click and hold the event and then drag and drop it to a new calendar date.
- If your selected parent court event has child events, you can select which child events you also want to automatically update.
- Click Move related events to save your changes. Click Don’t move to save your changes to the first event without moving any of the related events.
Add reminders to events
You can add reminders to events that you created and to events that are made available to the entire firm. You can add reminders from the main Calendar tab or the matter’s Calendar subtab.
- Go to Calendar.
- Select the event and click Edit event.
- Under Reminders, click Add new reminder.
- Add a firm user and amount of time before the event they should receive a reminder.
- Repeat steps 3 and 4 to add additional reminders.
- Under Save to this calendar, if you check the box for Add this event to the Firm calendar as well as the selected calendar, all firm users can add reminders for the event.
- Click Save event.
- Go to the matter’s Calendar subtab.
- Select the event and click Edit.
- Under Reminders, click Add new reminder.
- Add a firm user and amount of time before the event they should receive a reminder.
- Repeat steps 3 and 4 to add additional reminders.
- Under Save to this calendar, if you check the box for Add this event to the Firm calendar as well as the selected calendar, all firm users can add reminders for the event.
- Click Save event.
Delete court rules and events
You can delete a single court rule and all its subsequent associated events from the Calendar tab or the matter’s Calendar subtab.
- Go to Calendar.
- Select the event and click Delete.
- When the warning prompt appears, select Delete event.
- Go to the matter’s Calendar subtab.
- Under Court rules, find the event and click Delete.
- When the warning prompt appears, select Delete court rule.