In Clio Manage, you can store records of email correspondence and add billable or non-billable time for generated bills. In the Communications section, you can find email correspondence for shared bills, manually recorded email logs, emails logged using a unique Maildrop address, emails filed using Clio’s Outlook Add-in or Clio’s Gmail Add-on, and emails sent from Clio Manage, including emails with your personal signature.
Note: All firm users can access email logs. If you need to restrict an email log from other firm users, you can set matter permissions, which will carry over to matter communications.
Add email logs
You can add a new email log from the main Communications tab, from the matter or contact Communications subtab, or from the global Create new button. If a matter is not selected when adding a new email log, the email log will be stored in the contact’s record.
Tip: If you are using Outlook or Gmail for emailing clients, you can file emails quickly and efficiently using Clio’s Outlook Add-in or Clio’s Gmail Add-on.
- Click Create new and select Email log. You can also go to Communications, click New, and select Email log.
- Complete the email log fields. You can link the email log to a matter, a contact, or another user. Use the From and To fields to record who called whom.
- You can also add a time entry now or at a later time.
- Click Save email log.
Set up custom email signatures
If you enable Clio's email personalization feature with your Google or Microsoft email address, you can send emails with your custom email signature from Clio Manage. You can add, edit, and format your email signature in your settings. Once set up, you can customize where you want to use your email signature. You can use your email signature in the following types of emails sent from Clio Manage:
- Emails manually composed and sent from within Clio Manage
- Bill share emails (individual and bulk)
- Trust request emails (individual and bulk)
- Outstanding balance emails (individual and bulk)
- Bill reminder emails (manual and automatic reminders)
Step 1: Set up Clio's email personalization feature
You cannot send emails from Clio Manage without connecting either your Google or Microsoft email address. Once Clio's email personalization feature is enabled and you select the email types where you want to use a custom email signature, these email types will be sent from your connected Google or Microsoft email address with your custom signature instead of from notifications@clio.com. Learn more about connecting your Google email address here and more about connecting your Microsoft email address here.
Step 2: Set up your email signature
- Go to Settings > Communications.
- Select the Email signature subtab.
- Under the Email signature box, add and customize your email signature.
- You can copy and paste your signature from Outlook, Gmail, or Clio Grow, enter custom text and/or add images, files, and hyperlinks, format lines, add bullet points, and more.
- Under Apply signature, check the box next to each category where you want to use the custom email signature.
- Click Save.
Step 3: Send emails with your email signature
Your email signature will automatically be applied to any emails sent for the categories that you selected when setting up your email signature. For example, if you checked the box for Bill reminders, when an email is sent either automatically or manually from Clio Manage for a client to pay their outstanding invoice, the email will contain your custom email signature.
You also have the option to send manual emails to contacts or firm users from Clio Manage. These emails will also contain your custom email signature. Once sent, these emails will be filed as email logs in Clio Manage and will be visible in the sent folder of your connected Google or Microsoft email account. Learn more about sending emails from Clio Manage in the header below.
Set up email templates
If you enable Clio's email personalisation feature with your Google or Microsoft email address, you can create personal email templates to send from Clio Manage. Once enabled, you can add auto-fill fields and document attachments to the template and, with admin permission, make the template available firm-wide.
Note: The email templates you create here are only available when sending emails from Communications. They are not available for sending bill-related emails, such as outstanding balances and bill reminders.
Step 1: Set up Clio's email personalisation feature
You cannot send emails from templates in Clio Manage without connecting either your Google or Microsoft email address. Once Clio's email personalisation feature is enabled, you can create and use email templates. These emails will be sent from your connected Google or Microsoft email address instead of from notifications@clio.com. Learn more about connecting your Google email address here and more about connecting your Microsoft email address here.
Step 2: Set up email templates
- Go to Settings > Communications.
- Select the Email templates subtab.
- Click Add a template.
- In the New email template modal, complete the required fields.
- Click Add autofill fields to add contact or matter autofill fields that will auto-populate relevant information.
-
Optional: If you have admin permission, check the box to Make this an account-wide template.
- Account-wide templates can only be created and edited by the primary subscriber or an administrator.
-
Optional: Click Add Attachment to send documents with your email.
- To choose documents from Clio Manage, filter through contact and matter folders, select the documents, and click Attach.
- To upload documents from your computer, click Upload and select a file.
- Click Save template.
Step 3: Use email templates
You can use a personal or account-wide email template to send an email in Clio Manage. The template will populate with autofill fields, attachments, and your email signature. If you send the email from the main Communications tab, the matter and contact fields will be blank. You are required to select a matter. If you send the email from the matter's Communications subtab, the matter and contact fields will automatically be selected. You can also add more contacts.
Once sent, these emails will be filed as email logs in Clio Manage and will be visible in the sent folder of your connected Google or Microsoft email account. Learn more about sending emails from Clio Manage in the header below.
Edit and delete email templates
You can edit or delete your personal email templates. If you delete an email template, it cannot be recovered.
Note: You cannot edit account-wide templates. If you can only view a template, contact an admin to make changes.
- Go to Settings > Communications.
- Select the Email templates subtab.
- Under the Action column, click Edit.
- Complete the required edits.
- Click Save template
- Go to Settings > Communications.
- Select the Email templates subtab.
- Under the Action column, click the dropdown arrow and select Delete.
- In the Delete email template modal, click Delete.
- This cannot be undone.
Send emails from Clio Manage
If you enable Clio's email personalization feature with your Google or Microsoft email address, you can send emails and document attachments to your contacts or firm users from Clio Manage. Once sent, emails will be filed as email logs in Clio Manage and will be visible in the sent folder of your connected Google or Microsoft email account.
Note: You can add multiple contacts or firm users to a single email, but each contact or firm user is required to have a primary email address on file.
Step 1: Set up Clio's email personalization feature
You cannot send emails from Clio Manage without connecting either your Google or Microsoft email address. Once Clio's email personalization feature is enabled, all emails normally sent from notifications@clio.com will instead be sent from your connected Google or Microsoft email address. Learn more about connecting your Google email address here and more about connecting your Microsoft email address here.
Step 2: Send emails from Clio Manage
- Go to the main Communications tab or the Communications subtab in a matter.
- Click New and then select Email.
- In the Send email modal, complete the required fields for the email message.
- If you send the email from the main Communications tab, the matter and contact fields will be blank. You are not required to select a matter, but you are required to select at least one contact.
- If you send the email from the matter's Communications subtab, the matter and contact fields will automatically be selected. You can also add more contacts.
- The From field shows your connected Google or Microsoft email and cannot be changed.
- Optional: Select an Email Template from the dropdown or Create a template if none are available.
-
Optional: Click Add attachments to send documents with your email.
- You can choose documents that already exist in Clio Manage by filtering through contact and matter folders. Click Attach once you have selected the documents that you want to attach to the email.
- You can also upload documents from your computer. Click Upload and then select a file from your computer.
- Click Send.
- Once sent, the email will automatically be recorded as an email log. You can also view the sent email in the sent folder of your Google or Microsoft email account.
Configure Maildrop addresses and settings
You can forward emails directly to a matter using a matter’s Maildrop address or forward emails to the main Communications tab without selecting a matter. You can also create a contact in your email program using the matter’s Maildrop Vcard. The email file will be saved as an EML file because this format is a universal way to store unalterable email data.
Note: You can only send Maildrop emails from the email address that you use to log in to Clio. Emails from other email addresses will be blocked unless you add these email addresses as email aliases in your Clio user account.
Tip: If you are using Outlook or Gmail for emailing clients, you can file emails more quickly and efficiently using Clio’s Outlook Add-in or Clio’s Gmail Add-on.
Forward email
Follow these steps to forward an email to a matter using Maildrop.
- Go to the matter’s Communications subtab.
- Click New and select Copy matter Maildrop address.
- Go to your email program and open the email you want to forward.
- Paste the Maildrop email address into the To, Bcc, or Cc fields.
- Send the email.

Follow these steps to forward an email via Maildrop without attaching a matter.
- Go to Communications.
- Click New and select Copy Maildrop address.
- Go to your email program and open the email you want to forward.
- Paste the Maildrop email address into the To, Bcc, or Cc fields.
- Send the email.
Note: You cannot upload file attachments using this method.
Add Maildrop address as email contact
Follow these steps to add Maildrop email addresses as email contacts in your email program of choice.
- Go to the matter’s Communications subtab.
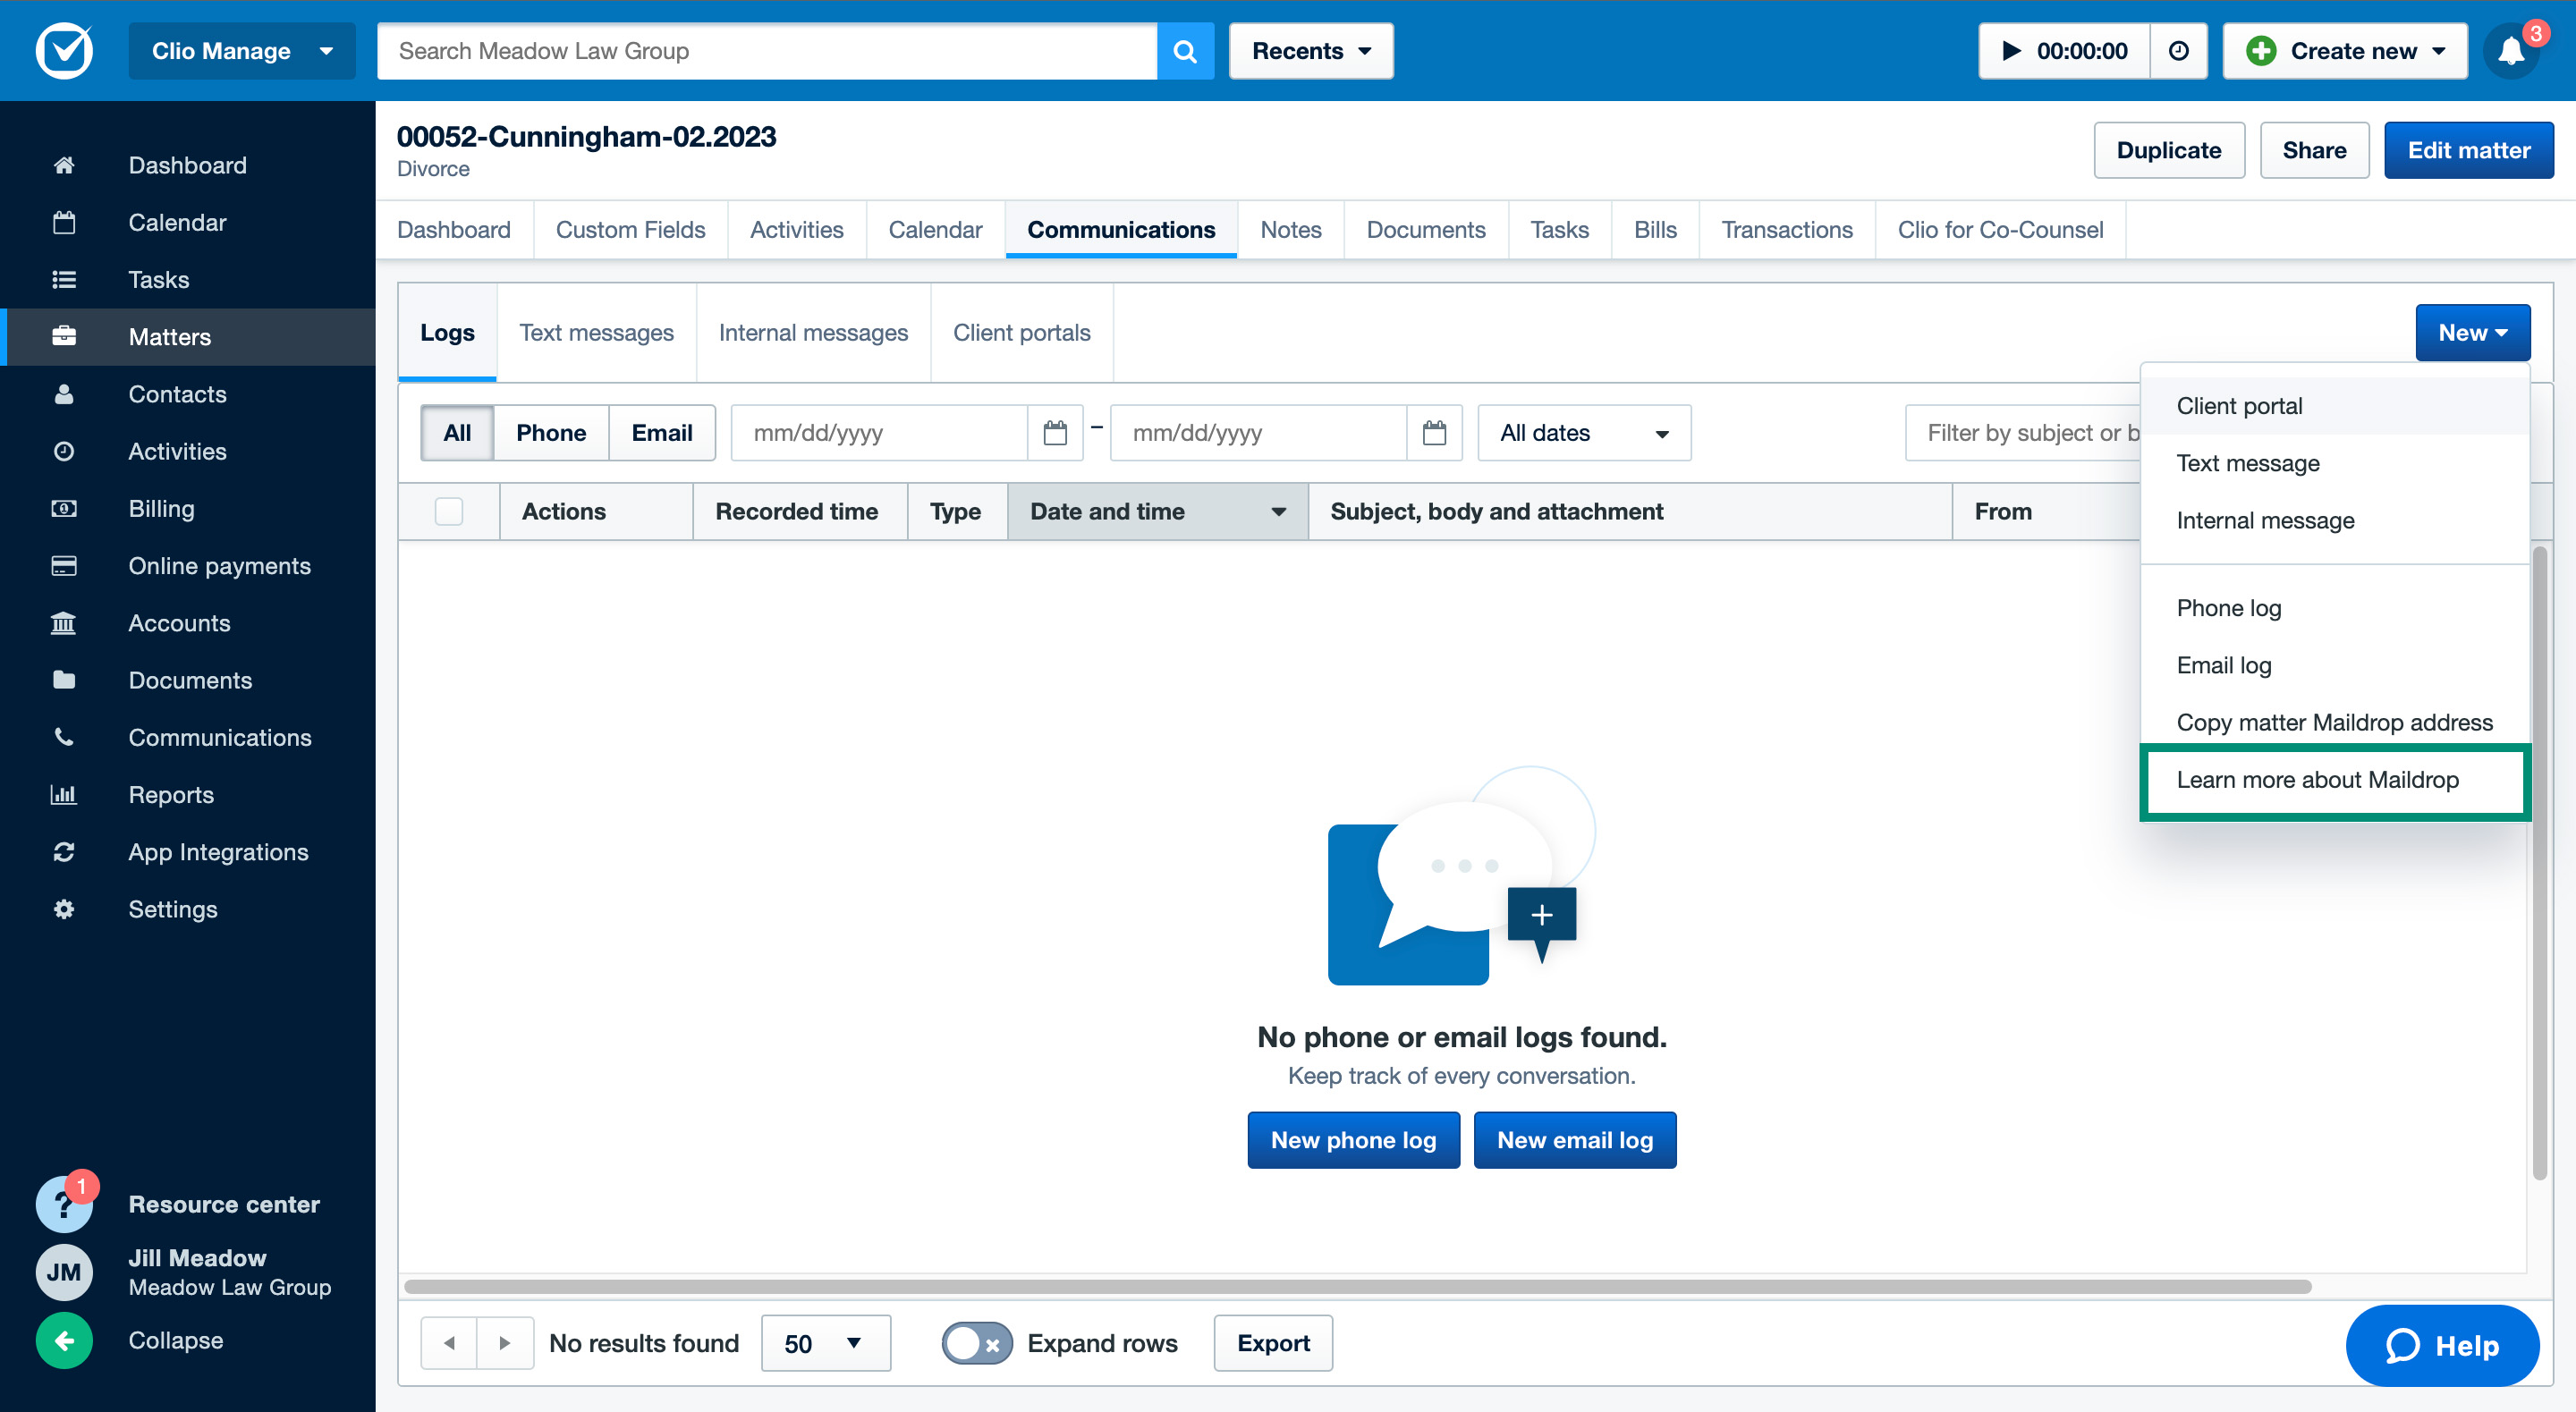
- Click New and select Learn more about Maildrop.
- Select Download Vcard.
- Follow your specific email program directions to import the Vcard into your email client as a contact.
- When you forward emails to this Vcard contact, they will be stored in the matter’s Communications subtab in Clio Manage.
Add email alias
If you need to send Maildrop emails from an email address different from the one you use to log in to Clio, you will need to first add that email address as an email alias in your Clio user account. Then, you can use that email address to send Maildrop emails.
- Go to Settings > Profile > Maildrop Email Aliases.
- Click Add.
- Select the user and the email.
- Click Save.
Note: Only administrators can change Maildrop aliases for other users.
Add time to email logs
You can add time to an email log when creating it or when viewing it after it has been created.
- Go to the main Communications tab or the Communications subtab in the matter or contact.
- Select the Logs subtab.
- Find the email under the All or Email quick filters.
- Under the Recorded time column, click Add time.
- Complete the time entry and click Save entry.
Edit and delete email logs
Follow the steps below to edit or delete an email log.
- Go to the main Communications tab or the Communications subtab in the matter or contact.
- Select the Logs subtab.
- Find the email under the All or Email quick filters.
- Click Edit.
- Make your changes and click Save email log.
Note: Communications can only be deleted individually. Deleting in bulk is not a supported action.
Important: This is a permanent and irreversible action.
- Go to the main Communications tab or the Communications subtab in the matter or contact.
- Select the Logs subtab.
- Find the email under the All or Email quick filters.
- Click the down arrow next to Edit and select Delete.
- When the warning prompt appears, select Delete email log.
Filter email logs
When filtering email logs, you can filter by matter, contact, whether email logs have time entries or not, the firm user who created the email log, or by bill ID if the email log is on a generated bill.
- Go to the main Communications tab or the Communications subtab in the matter or contact.
- Click Filters.
- Select the appropriate parameters and click Apply filters.
Export and print email logs
Export email logs efficiently by selecting specific filters (see above on filtering) and choosing to export all columns or only the visible ones. The exported document will be a CSV file. For a physical copy of an email log or to avoid exporting multiple logs, print individual email logs instead..
- Go to the main Communications tab or the Communications subtab in the matter or contact.
- Optional: Click Filters, select the appropriate parameters, and click Apply filers.
- Scroll down to the bottom of the table and click Export.
- Select whether you want the export to show all columns or only columns you currently see.
- Click Export.
- Go to the main Communications tab or the Communications subtab in the matter or contact.
- Select the Logs subtab.
- Find the email under the All or Email quick filters.
- Click the down arrow next to Edit and select Print.