In Clio Manage, if you create events on one of your calendars and need other firm users to view those events, you can share your calendar using the sharing function. Once shared, selected firm users can access calendar events depending on the permissions you set.
Share calendars
When sharing a calendar, you can choose to share the calendar with an individual firm user or groups of firm users. See the section below on managing groups to learn more about groups.
- Go to Calendar.
- Click the More dropdown and select Calendar sharing.
- Under Calendar, select which calendar you want to share.
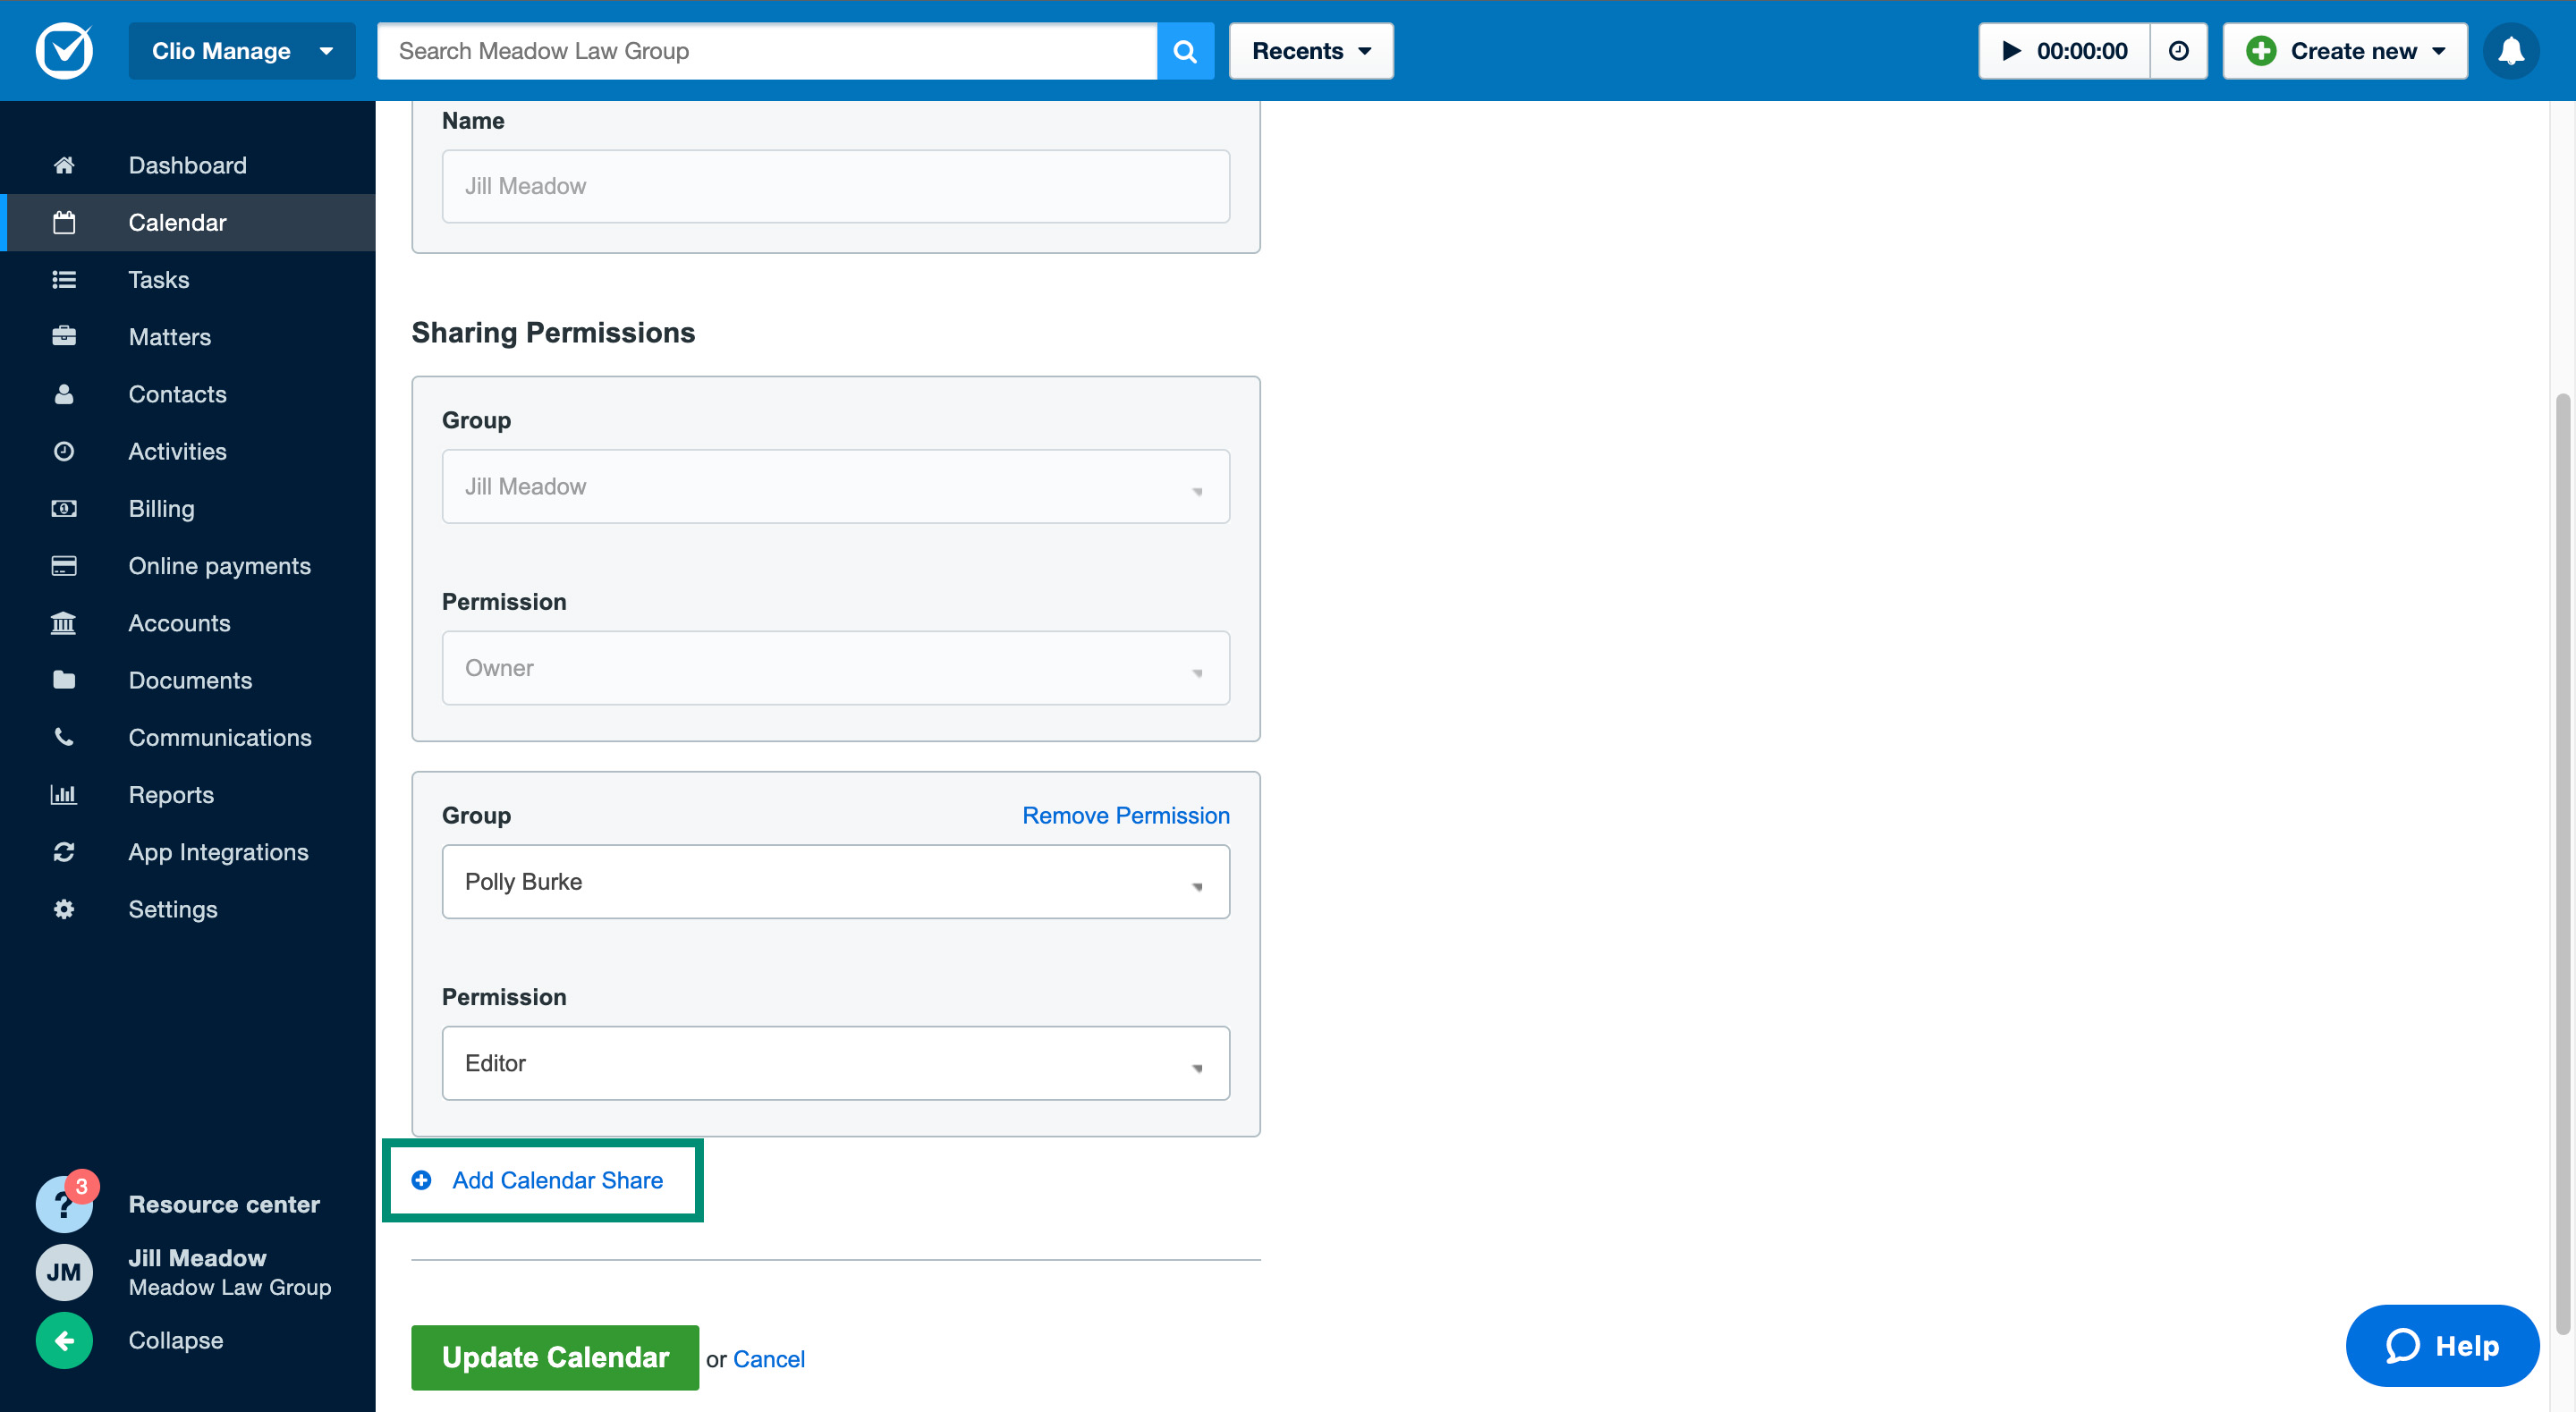
- Under Sharing Permissions, select Add Calendar Share.
-
Select the user or group who can view the calendar and then select the permission level.
- Editor: The user or group can add, edit, and delete entries from your calendar.
- Viewer: The user or group can only view events in the calendar. They can also view all the details.
- Private (Free/Busy): The user or group can view events, but they will only see blocked out times for events scheduled on your calendar. They cannot see any event details.
- Click Update Calendar.

Manage groups
Groups are categories of firm users that can be assigned to certain matters. When sharing calendars, you can choose to share with individual firm users or groups of firm users. Once a group is created, you can add and remove members by editing it and you can archive groups that you no longer need. The Matter assignment column will show whether the group is assigned to a matter.
Note: Only users with administrator permissions can create and modify groups.
- Go to Settings > Groups, Permissions, and Job Titles > Groups.
- Click New group.
- Enter the group name and description.
- Optional: Check the box for Exclude this group from custom billing rate if you do not want this group to appear as an option when setting a custom billing rate for a matter or contact.
- In the Group Members section, add firm users to the group. You can click the blue minus symbol next to a user's name to remove them from the group.
- Click Save group.
- Go to Settings > Groups, Permissions, and Job Titles > Groups.
- Find the group and click Edit.
- Optional: Change the group name, description, and whether the group is excluded from a custom matter or contact billing rate.
- In the Group Members section, add firm users to the group. You can click the blue minus symbol next to a user's name to remove them from the group.
- Click Save group. Any changes will appear in the groups table under Date modified and Modified by.
Note: Archiving a group will not remove the group from matters, calendar shares, or from custom client rates on contacts. You will need to edit the matter, calendar share, or contact to remove the group.
- Go to Settings > Groups, Permissions, and Job Titles > Groups
- Click the down arrow next to Edit and select Archive. You can also click Edit and then select Archive group.
- Click Archive group to confirm the action. You can view the archived group in the Archived subtab or All subtab of the groups table.
- Go to Settings > Groups, Permissions, and Job Titles > Groups
- Select the Archived subtab in the table.
- Click the down arrow next to Edit and select Unarchive. You can also click Edit and then select Unarchive Group.